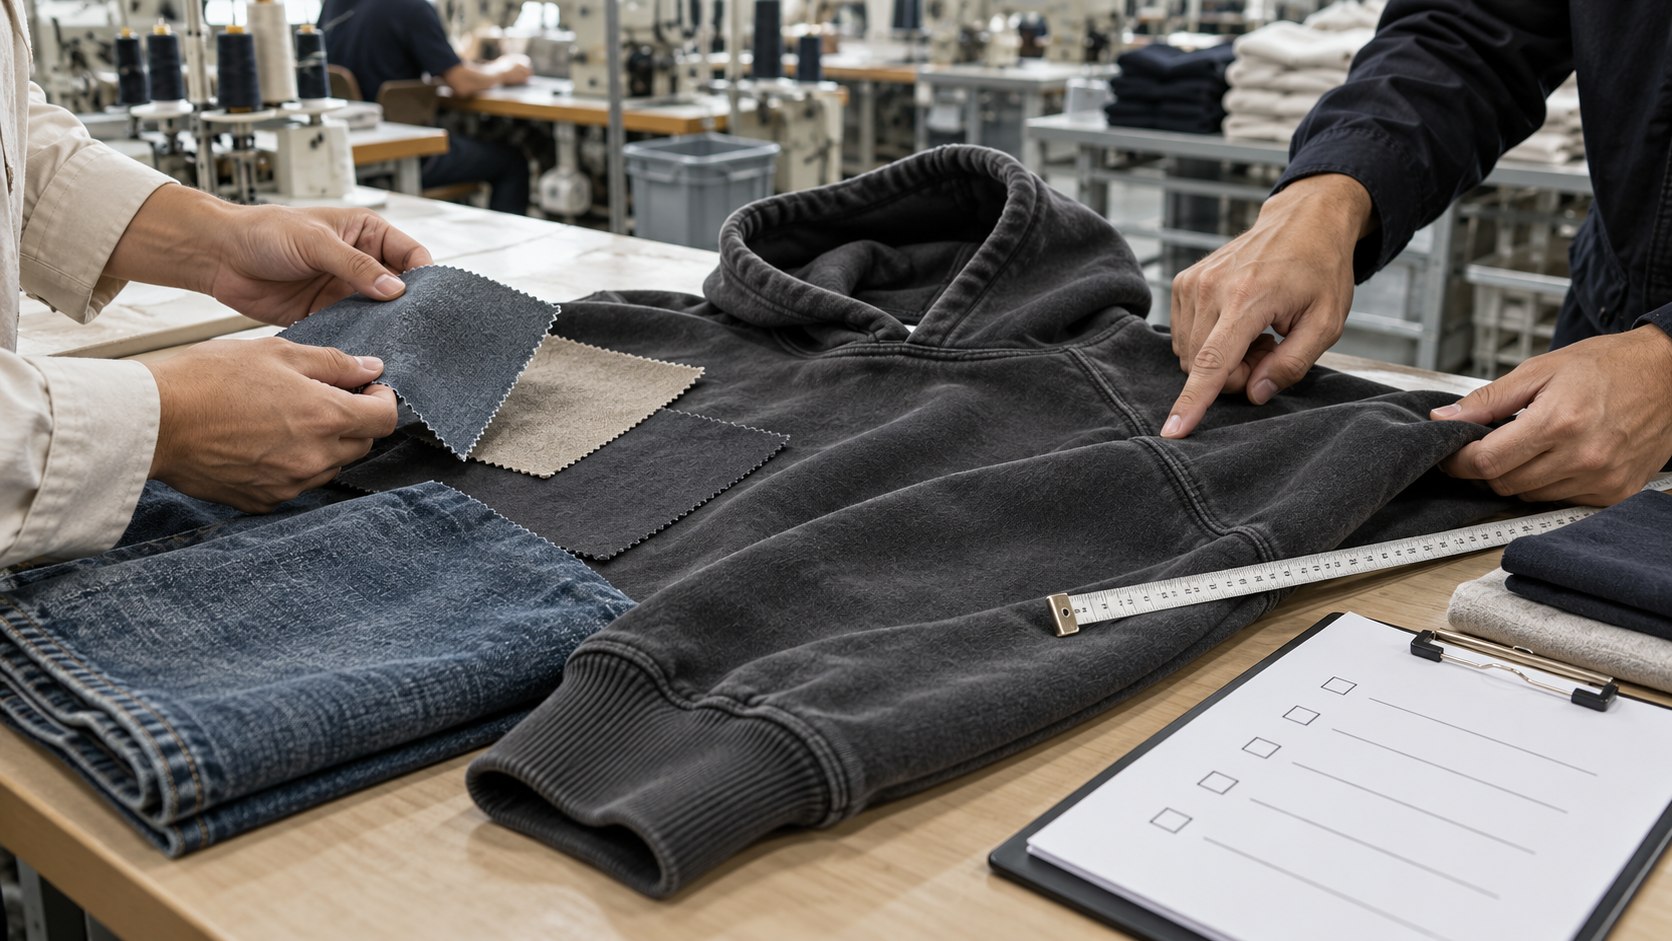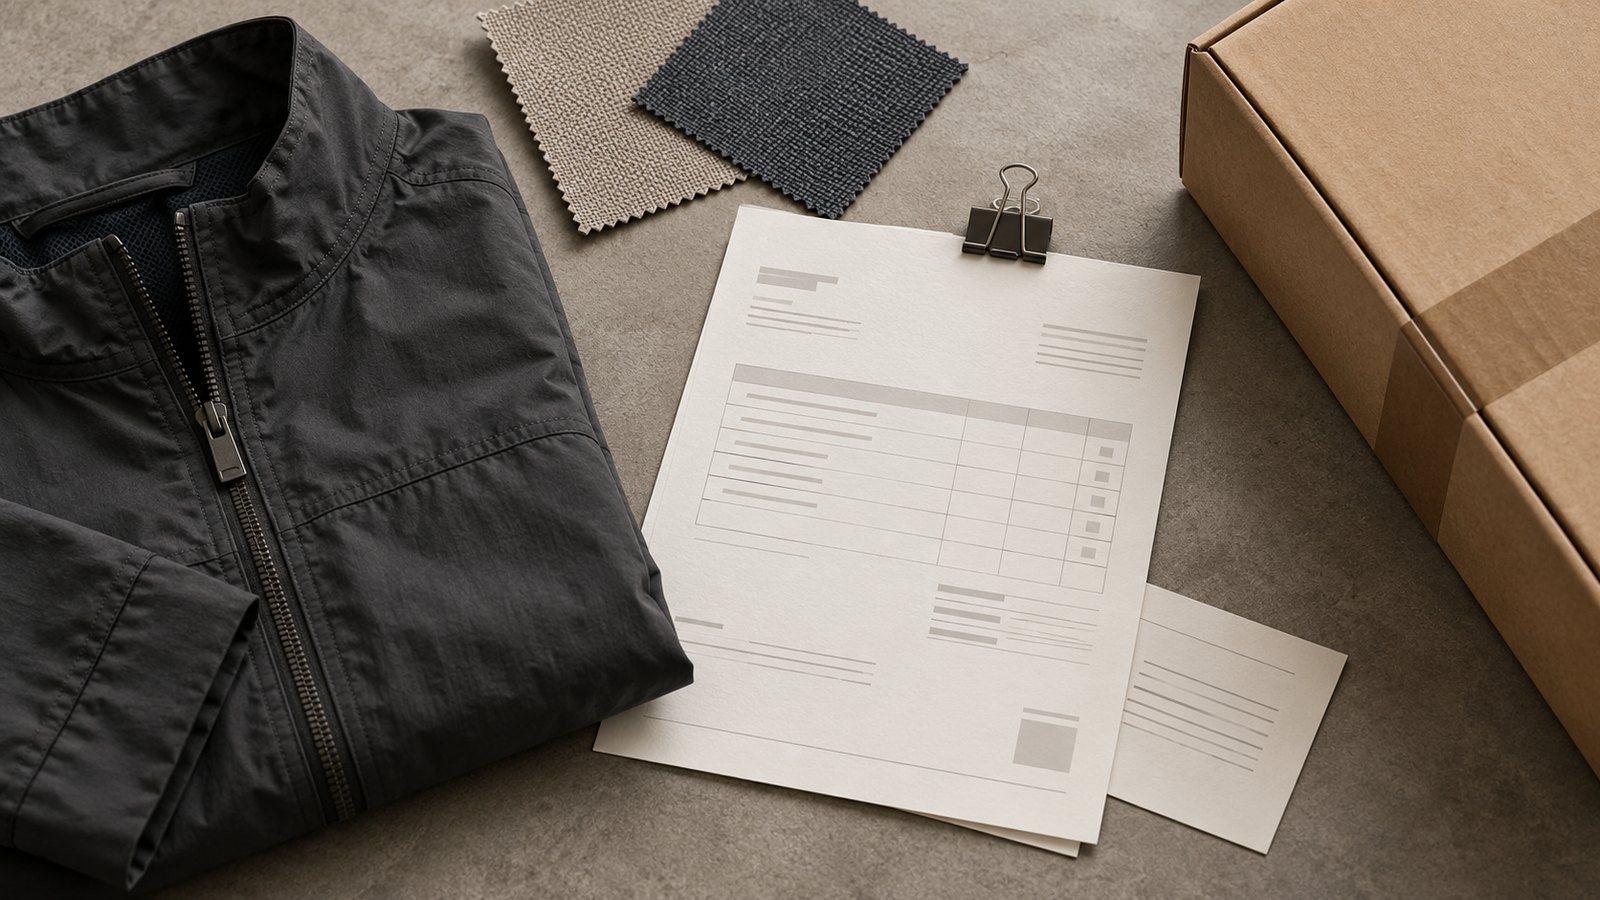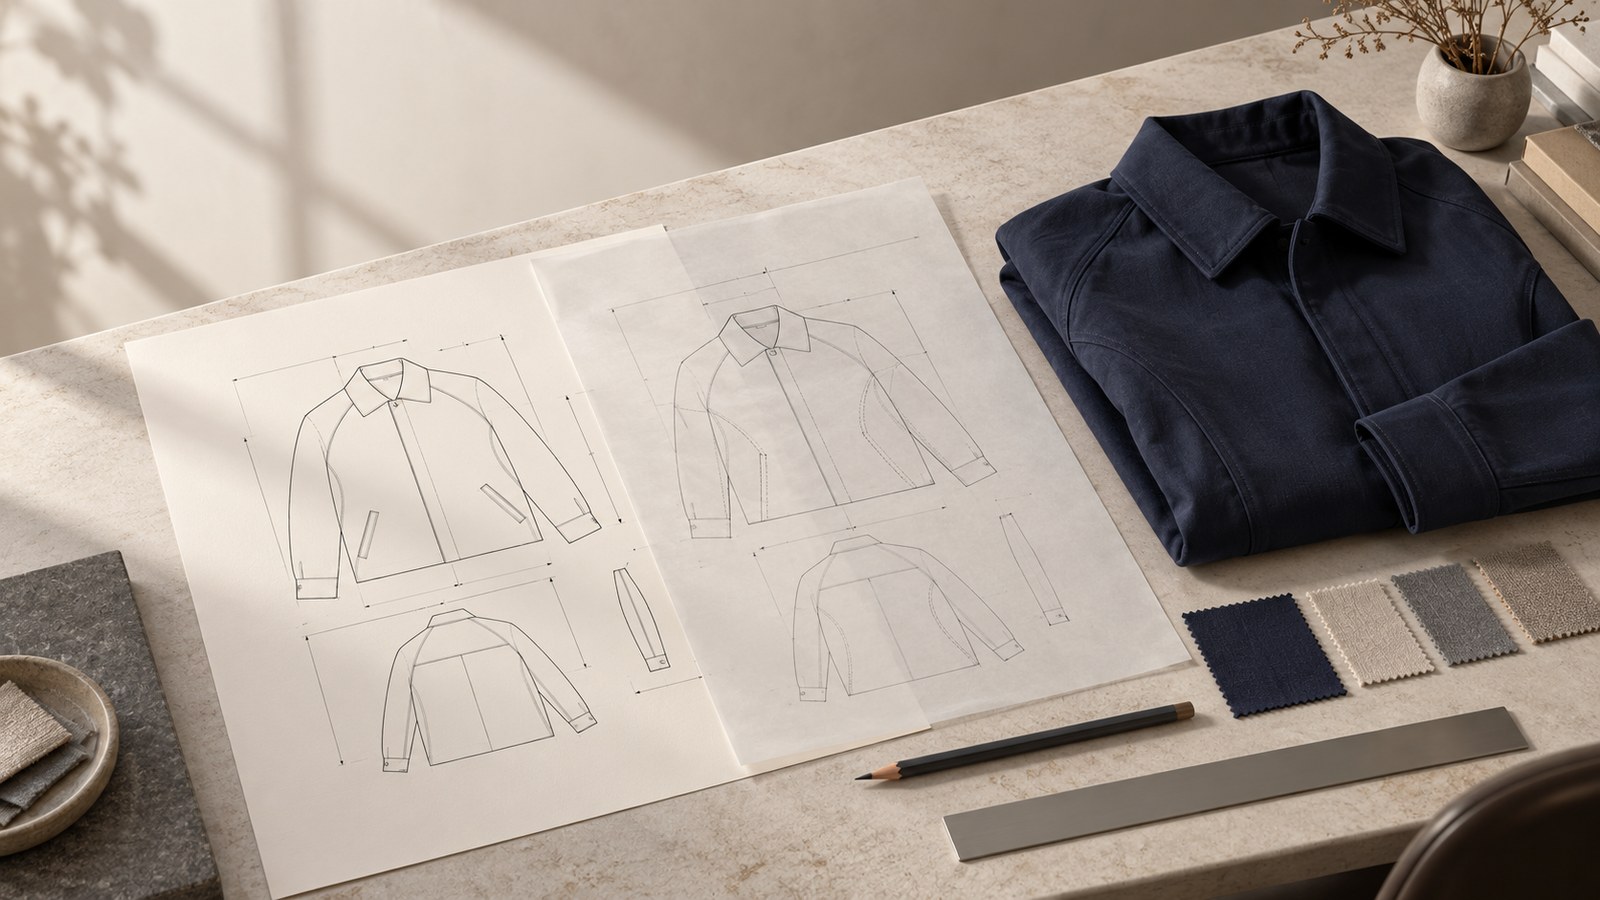
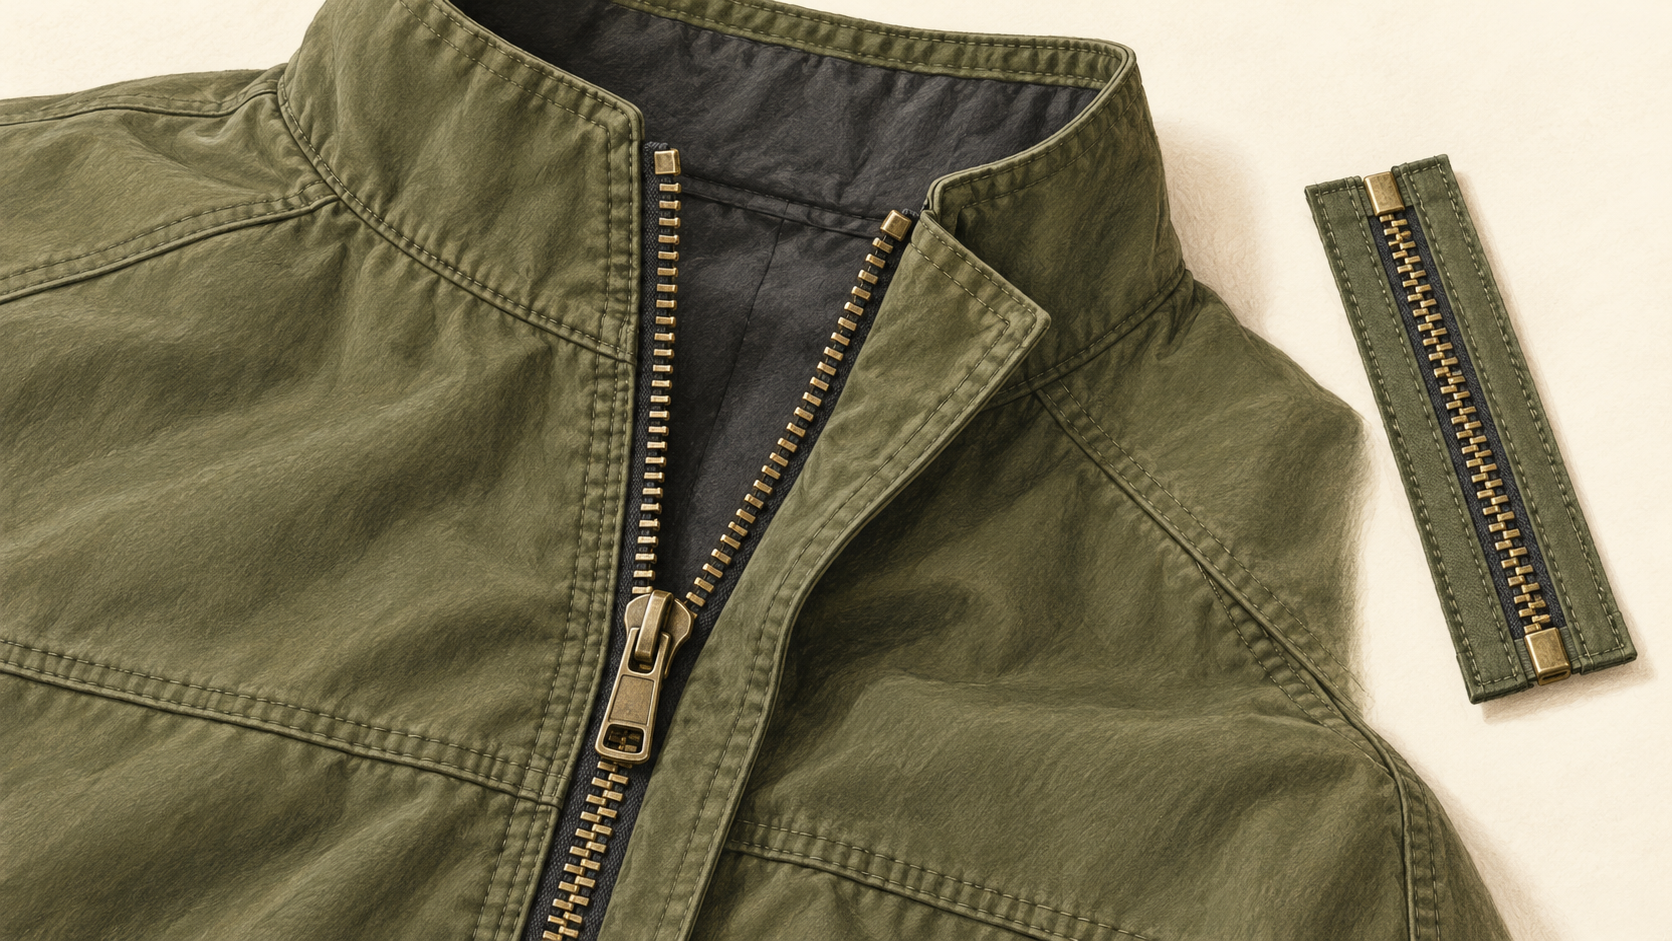
A garment zipper inspection should establish whether the specified component has been supplied, whether it works after sewing, and which performance requirements still need test evidence. A smooth pull on one sample answers only part of that review.
This checklist is for apparel buyers reviewing jacket, hoodie and other casualwear closures before production approval. Use it with the agreed trim specification and physical sample. Set acceptance criteria for the particular product instead of borrowing a cycle count or strength limit from an unrelated order.
For visual context, the zipper-edge sewing clip in NOVITA’s Factory Tour shows an assembly operation. It does not demonstrate functional inspection or prove that a particular zipper meets the buyer’s requirements; use the approved trim card and finished sample for those checks.
Identify the zipper before checking its operation
Match the submitted zipper to the trim card. Record its supplier or article reference, chain type, size designation, opening arrangement, finished length, tape color, slider and puller. Confirm how the supplier measures length. A nominal size identifies a product category within a supplier’s range; it does not establish the strength of the sewn garment.
Check whether the design needs a closed end, a separating bottom or a two-way opening. The sample should contain the intended arrangement. A substitute component can support an early fit discussion, but its approval should remain limited to the details it actually represents.
Photograph the component beside its reference and retain the identifying label. If the purchase specification names a particular maker, ask for traceable supply documentation. A familiar-looking puller alone does not prove the source or authorize a branded claim.
Inspect the zipper after it is sewn into the garment
Operate the installed closure and watch where resistance occurs. Keep lining, seam allowances and loose threads clear of the slider. Check the full opening and closing path without forcing a jammed component.
On a separating jacket front, check insertion and engagement at the bottom. Review alignment of the two front edges, the position of the stops and the clearance around the puller. For a two-way design, assess both sliders in the intended sequence. Record the supplier’s operating instructions where the arrangement is unfamiliar.
Repeat the check in the garment’s intended use position, including over the proposed underlayer. Distinguish resistance in the component from fabric catching at a seam or a front panel pulling under tension. Photograph the exact obstruction and note whether it remains when the garment is laid flat.
The wider jacket sample approval checklist covers fit, shell and lining decisions. Keep this closure record attached to that approval so a later lining change does not bypass the relevant zipper recheck.
Check appearance and the intended care route
Compare tape color, visible teeth, puller finish and exposed stitching with the approved references. Check for uneven installation, damaged elements, rough edges and loose attachment threads. Judge the front both open and closed; a tidy closed photograph can hide an uneven tape edge.
Where the garment is washed, dyed or otherwise finished after sewing, request review at the relevant finished stage. Ask the supplier to confirm component compatibility with the actual process. Record any change in operation, tape appearance or hardware finish after the agreed treatment. A raw sample cannot demonstrate the outcome of a later process.
For care verification, agree on the method and conditions before testing. Identify the specimen, care cycle and observations in the report. Do not substitute a casual wash at home for the specified verification. If a defect appears, retain the affected sample and compare it with an untreated reference before deciding what caused it.
Know when laboratory evidence is needed
Hand operation is a useful workmanship check, but it cannot establish measured component strength. YKK’s published testing overview distinguishes chain crosswise, stop holding, slider lock and puller attachment strength. These are different loading situations, so a report for one property should not be treated as approval of them all.
Ask the testing provider to identify the applicable method, edition, component reference and result units. The buyer and supplier should agree the required performance before submission. This article sets no universal force or cycle threshold and gives no instruction to imitate a laboratory tensile test by hand.
Also check what was submitted. A component report and a sewn-garment inspection have different scopes. Changes to the zipper article, installation or finishing route should trigger a review of which evidence still applies. Intertek’s accessory-testing overview includes component assessment; it does not establish that NOVITA uses that provider or that a particular order has passed testing.
Apply the checklist to the selected NOVITA style
NOVITA’s published Harrington jacket reference has a zip-front direction. For a project based on that reference, identify the actual zipper and check front balance with the selected shell and lining. The public product reference establishes a construction direction, not a tested zipper specification or a promise to supply a named brand.
The button-front utility jacket reference calls for a different closure review. Mark front-zipper checks as not applicable if the ordered design retains buttons. If the design changes to a zipper, reopen the front construction and trim specification before treating an earlier sample approval as current.
Use the construction difference to decide what evidence to request. For the zip-front project, submit a trim reference and installed-closure comments. For the button-front project, prepare the applicable fastening requirements. Neither public page is evidence that your own closure sample has passed inspection.
Record the decision and verify the correction
The following is a proposed buyer record, not an inspection result. For the wider production checks, consult our apparel quality-control checklist. Complete it for each submitted version and keep the photographs, trim identity and any test report together.
| Review item | Evidence to attach | Decision to record |
|---|---|---|
| Component identity | Trim card, article reference and sample photograph | Matches specification, substitute, or pending identification |
| Installed function | Location of resistance or catching, garment state and observations | Accepted against agreed criteria or correction required |
| Finish and care | Named process, specimen identity and before/after observations | Reviewed, pending, or not applicable |
| Required performance | Applicable report, method, units and agreed requirement | Evidence accepted, insufficient, or pending |
| Correction | Revised component or sewing detail and recheck record | Closed by named reviewer or still open |
Write comments that locate the defect. An illustrative instruction is: “Lining catches beside the lower slider when the front is closed. Return a corrected sample showing the revised lining clearance and repeat the installed-function check.” This describes a hypothetical revision, not a NOVITA customer case.
Do not close the action when a supplier only promises a correction. Review the revised evidence and record the sample version, reviewer and date. For a NOVITA jacket production project, send the garment reference, proposed zipper arrangement, trim requirements and target care route through the contact page so the sampling brief can identify the approvals still needed.