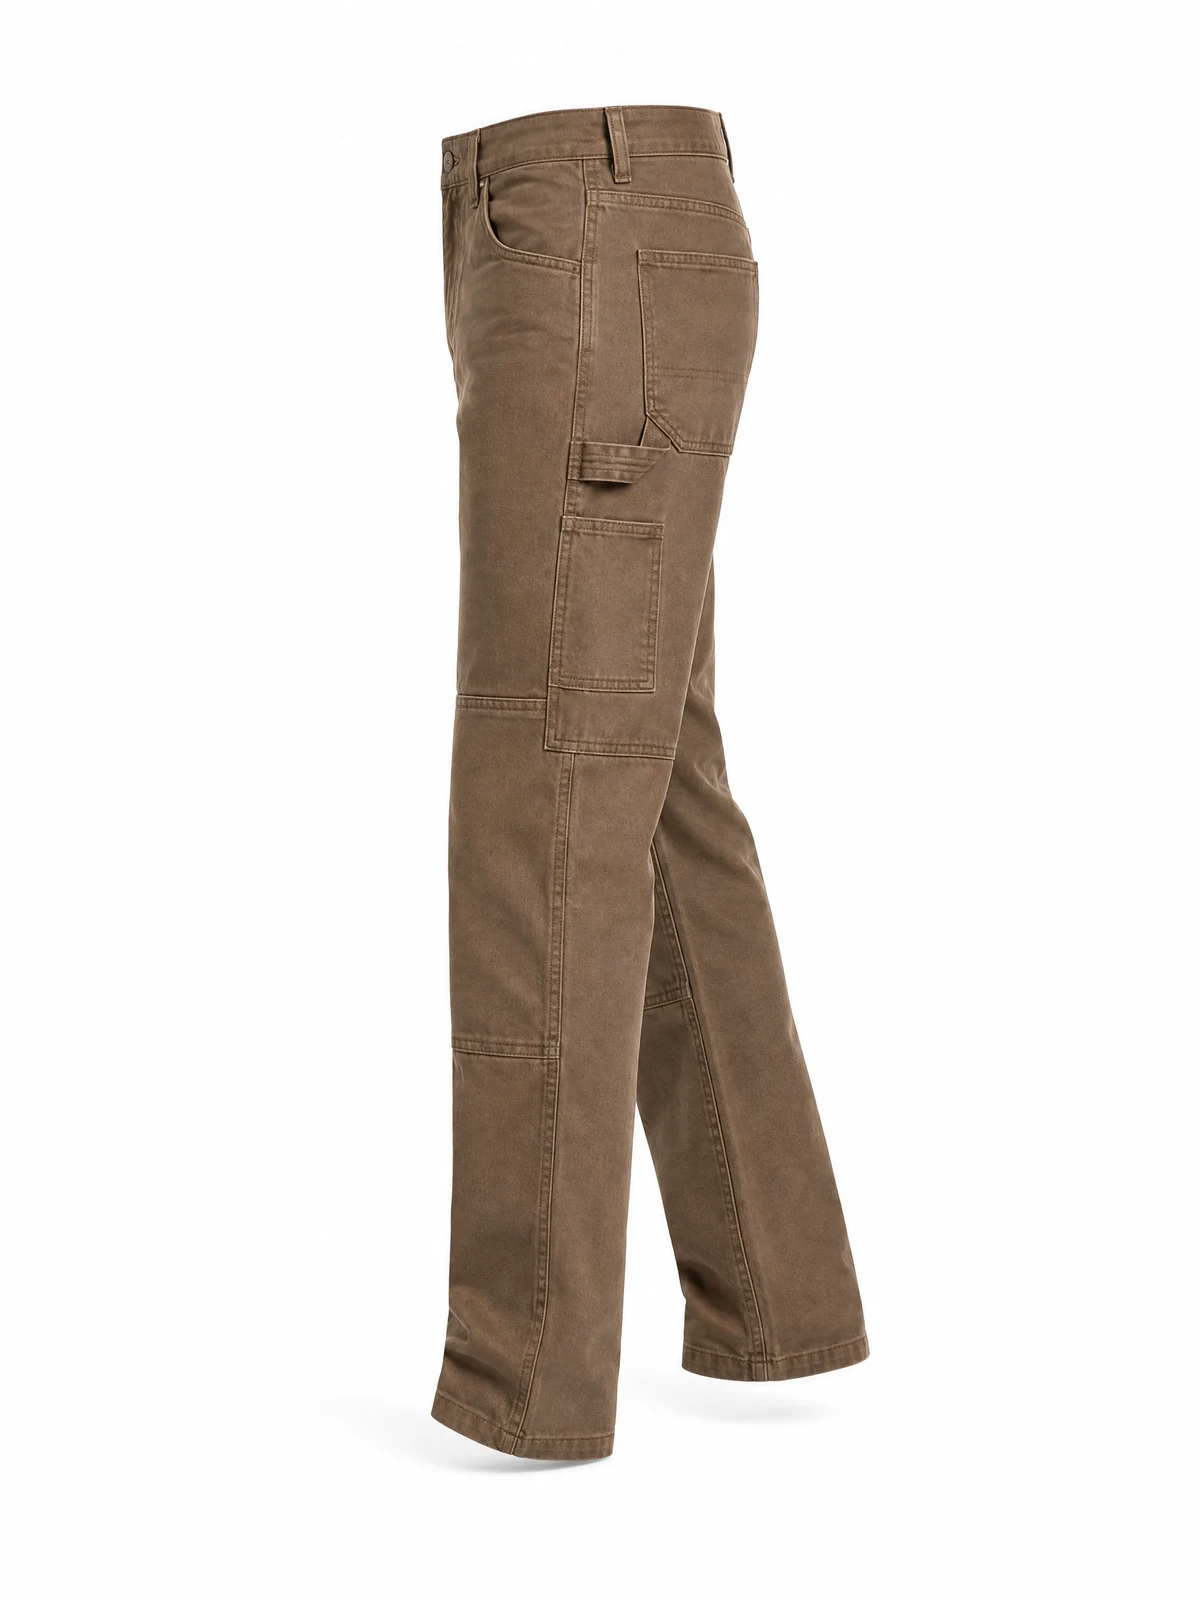
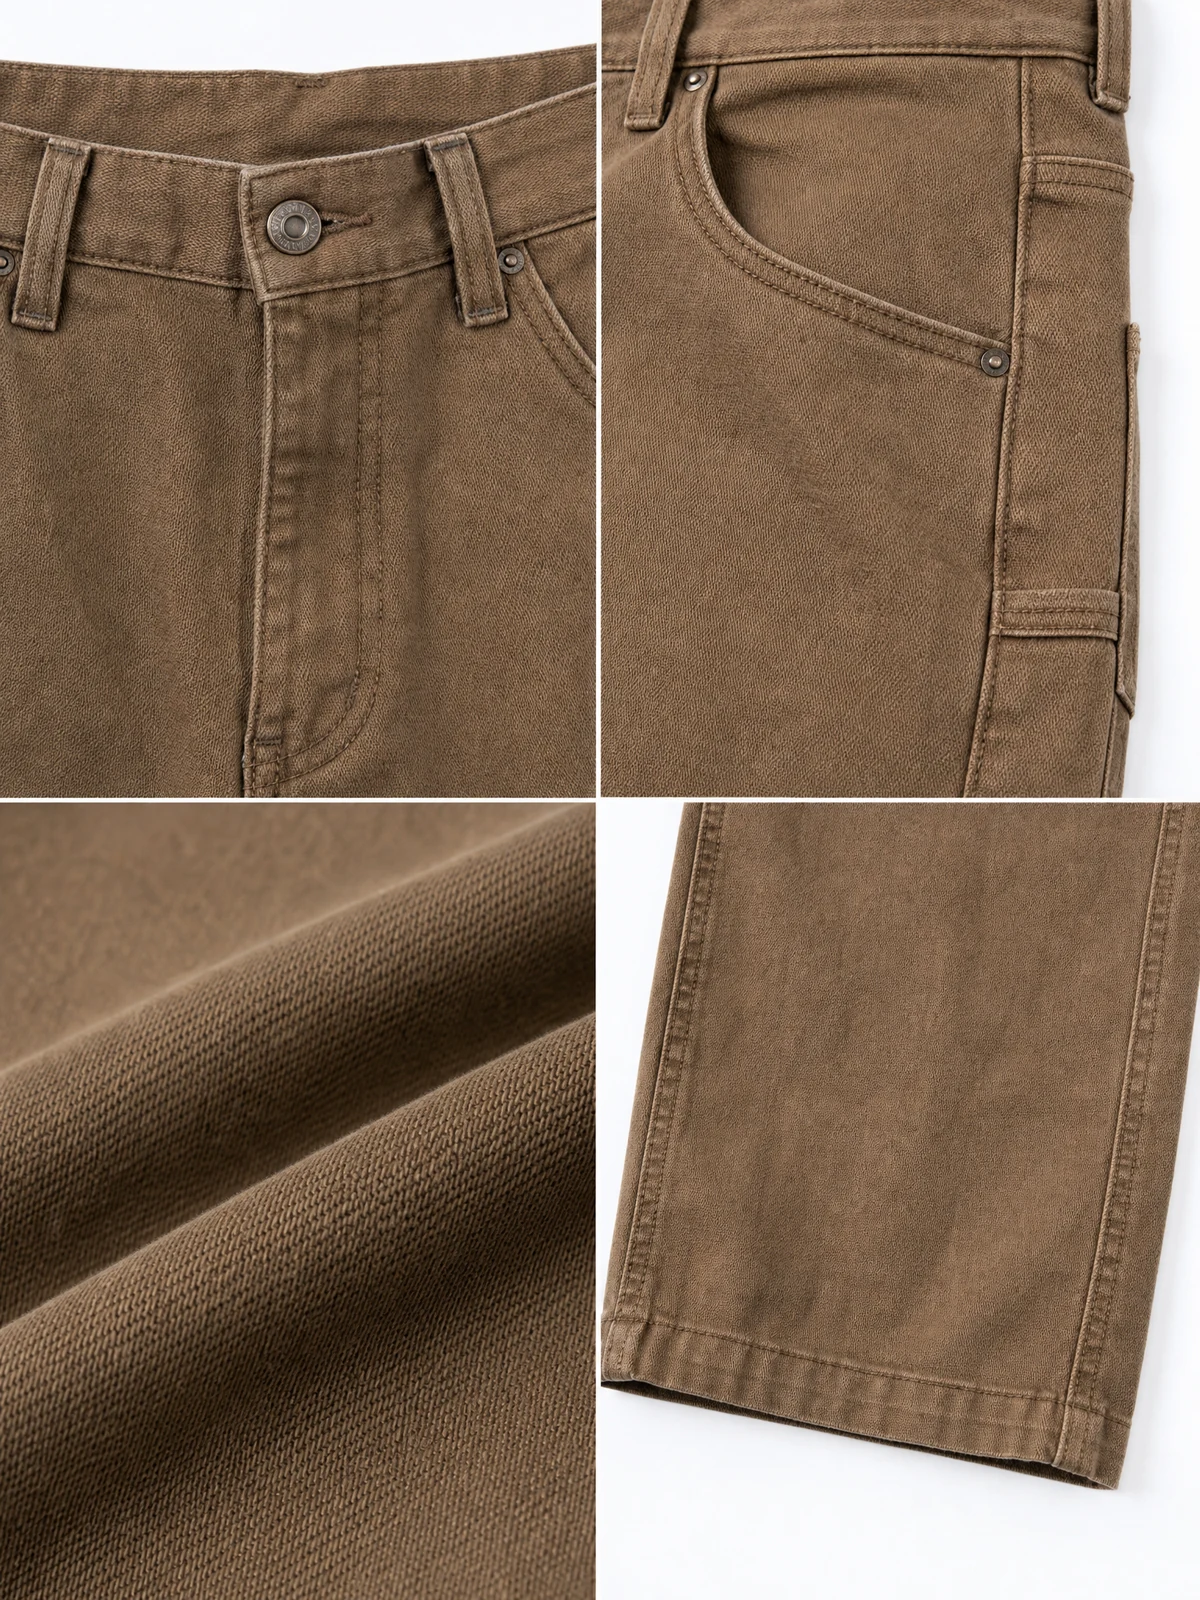
Custom Carpenter Utility Pants
Quick Overview
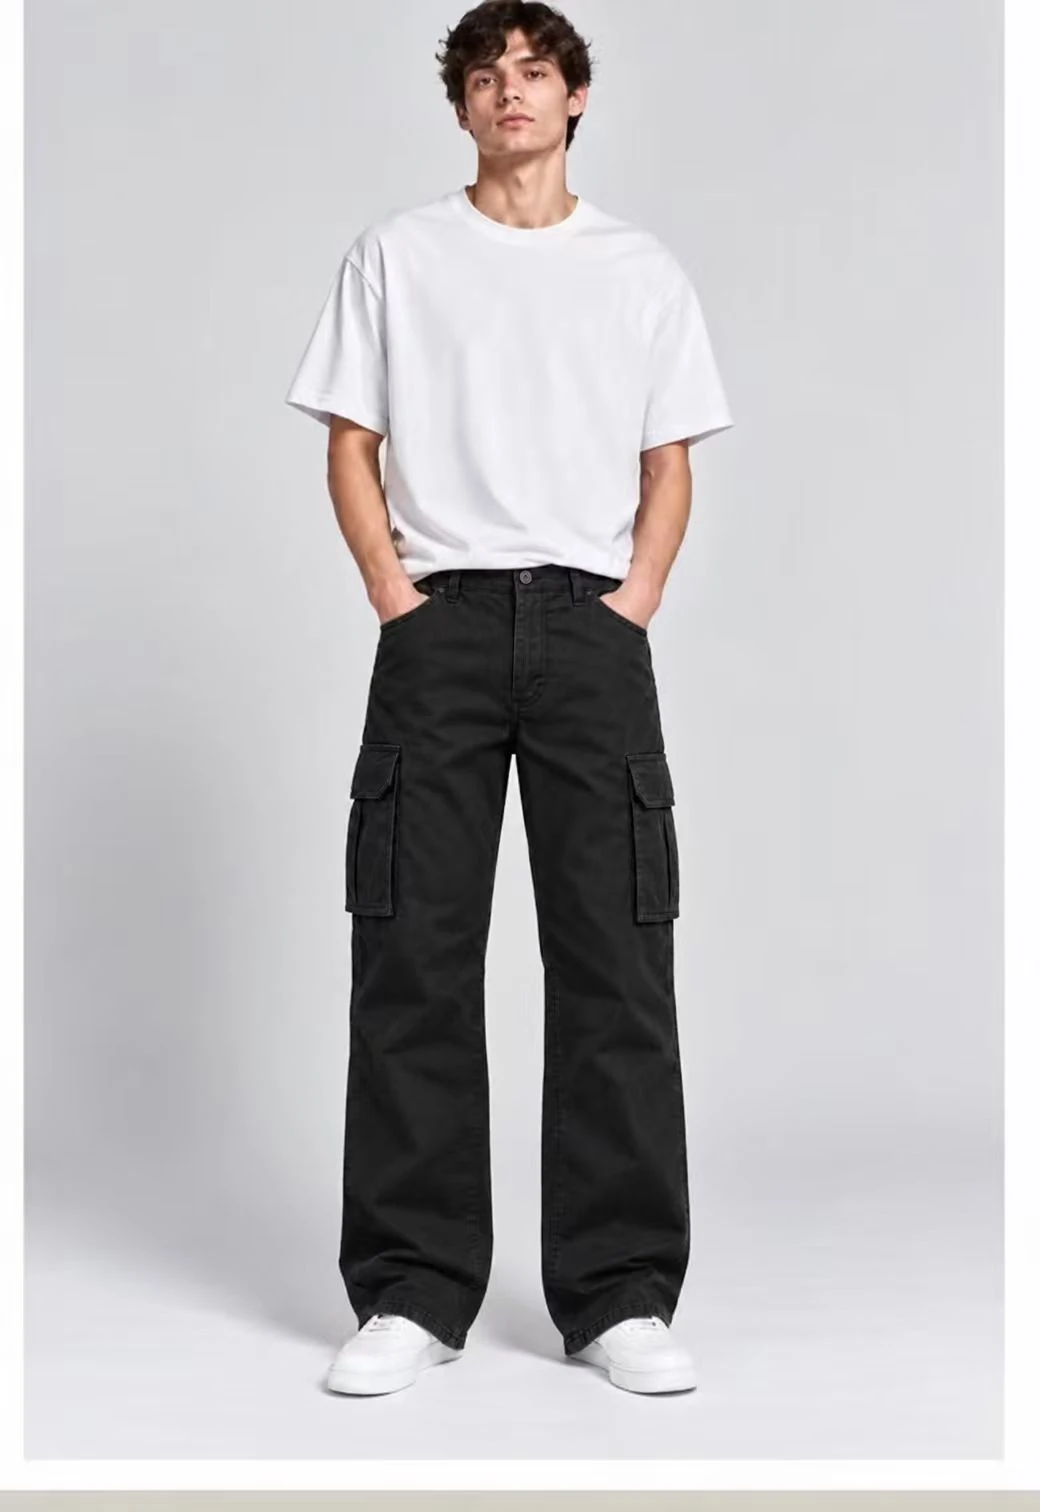
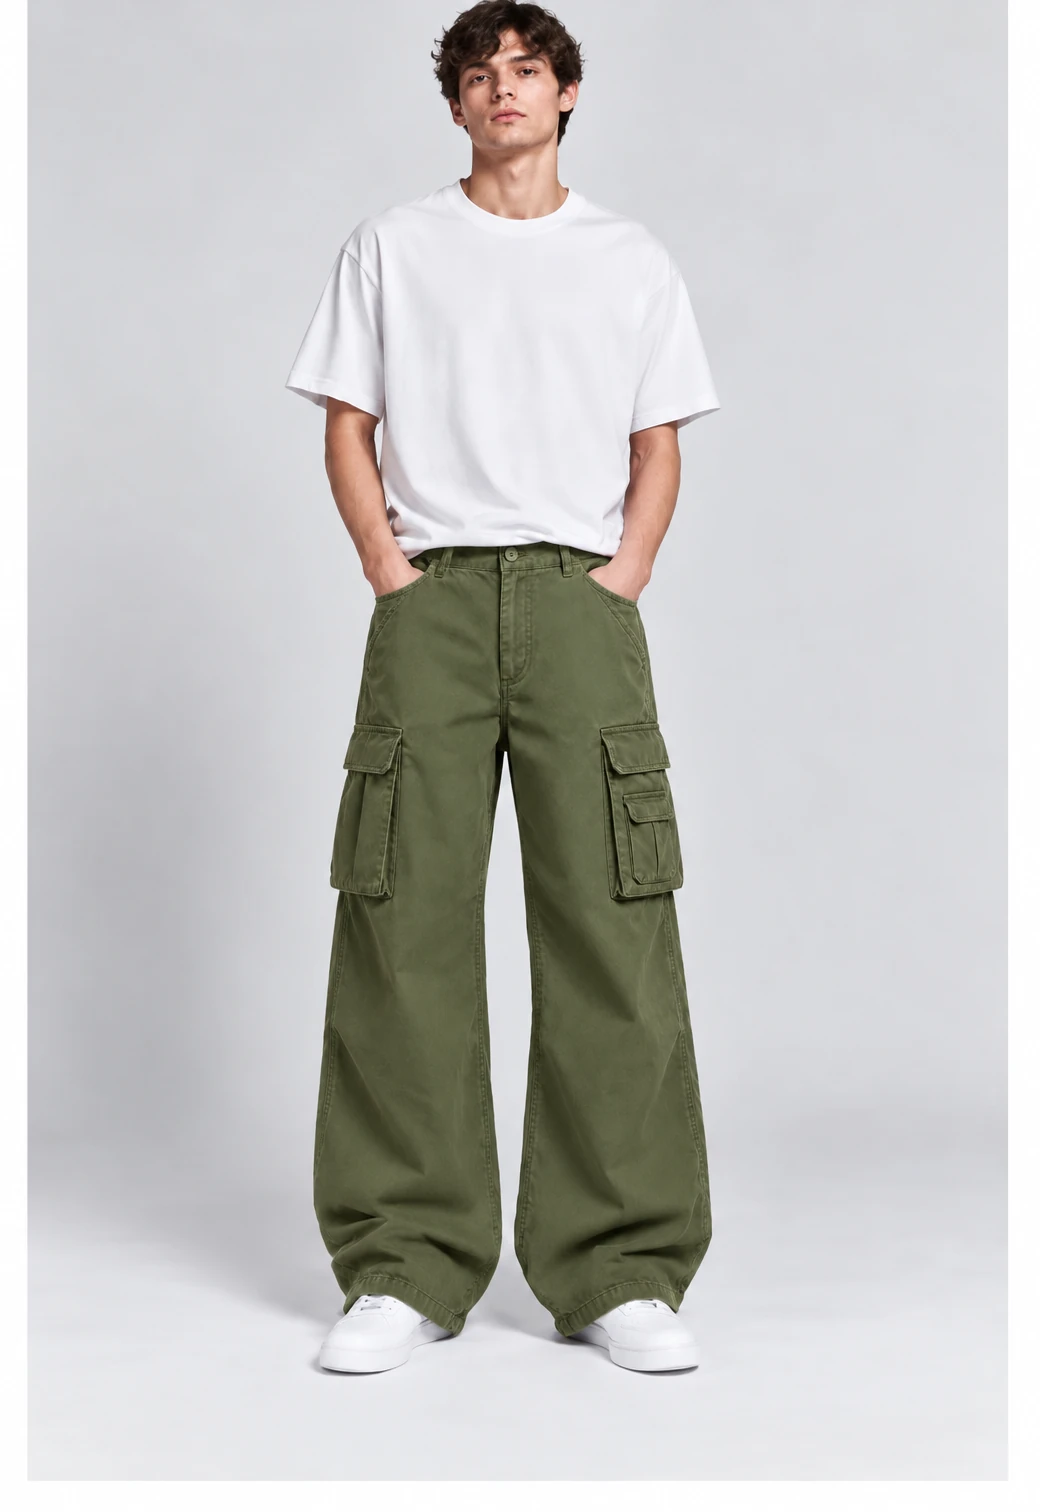
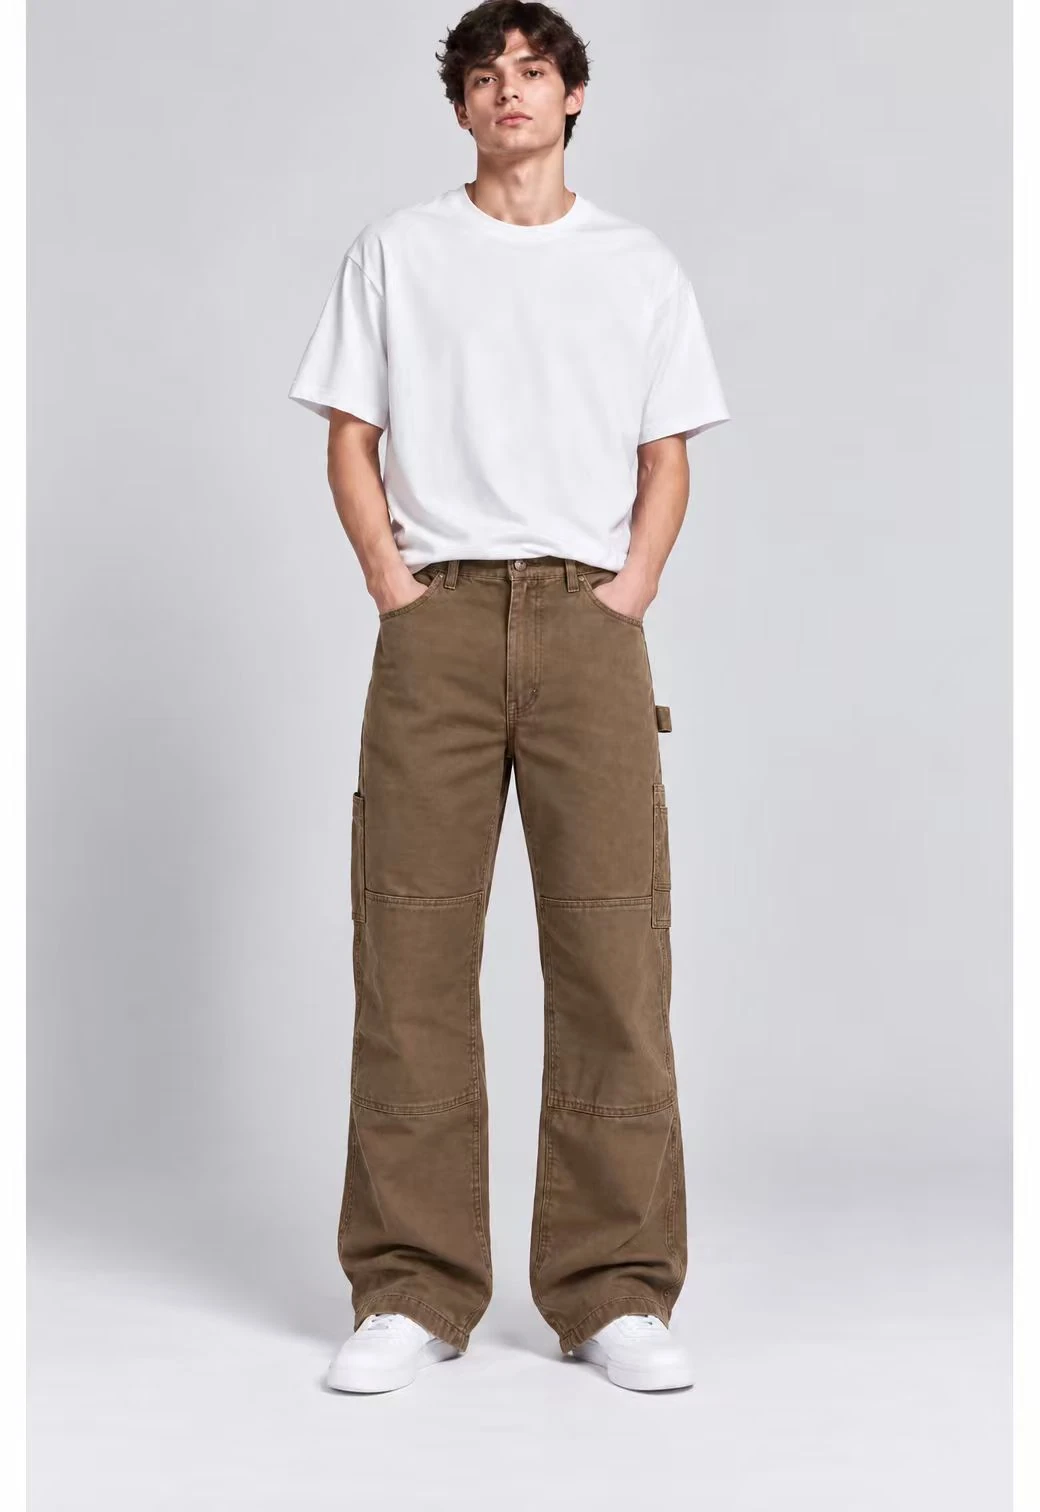
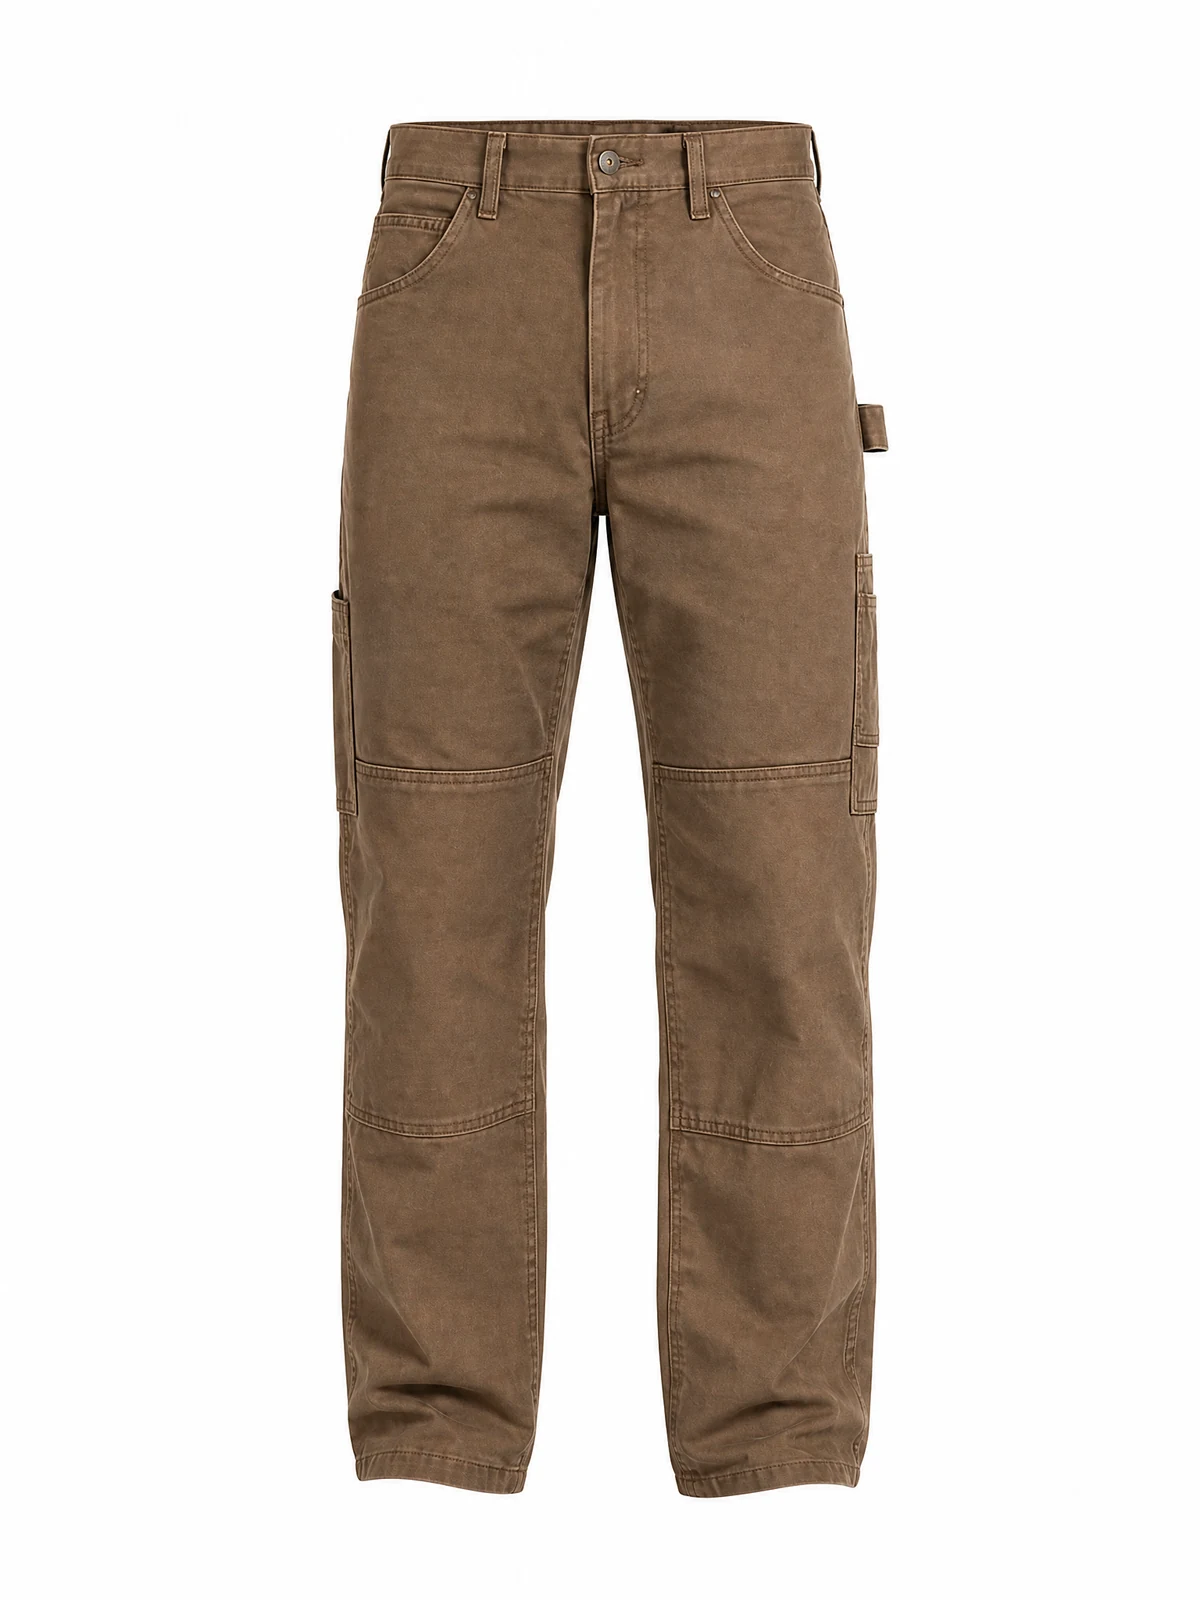
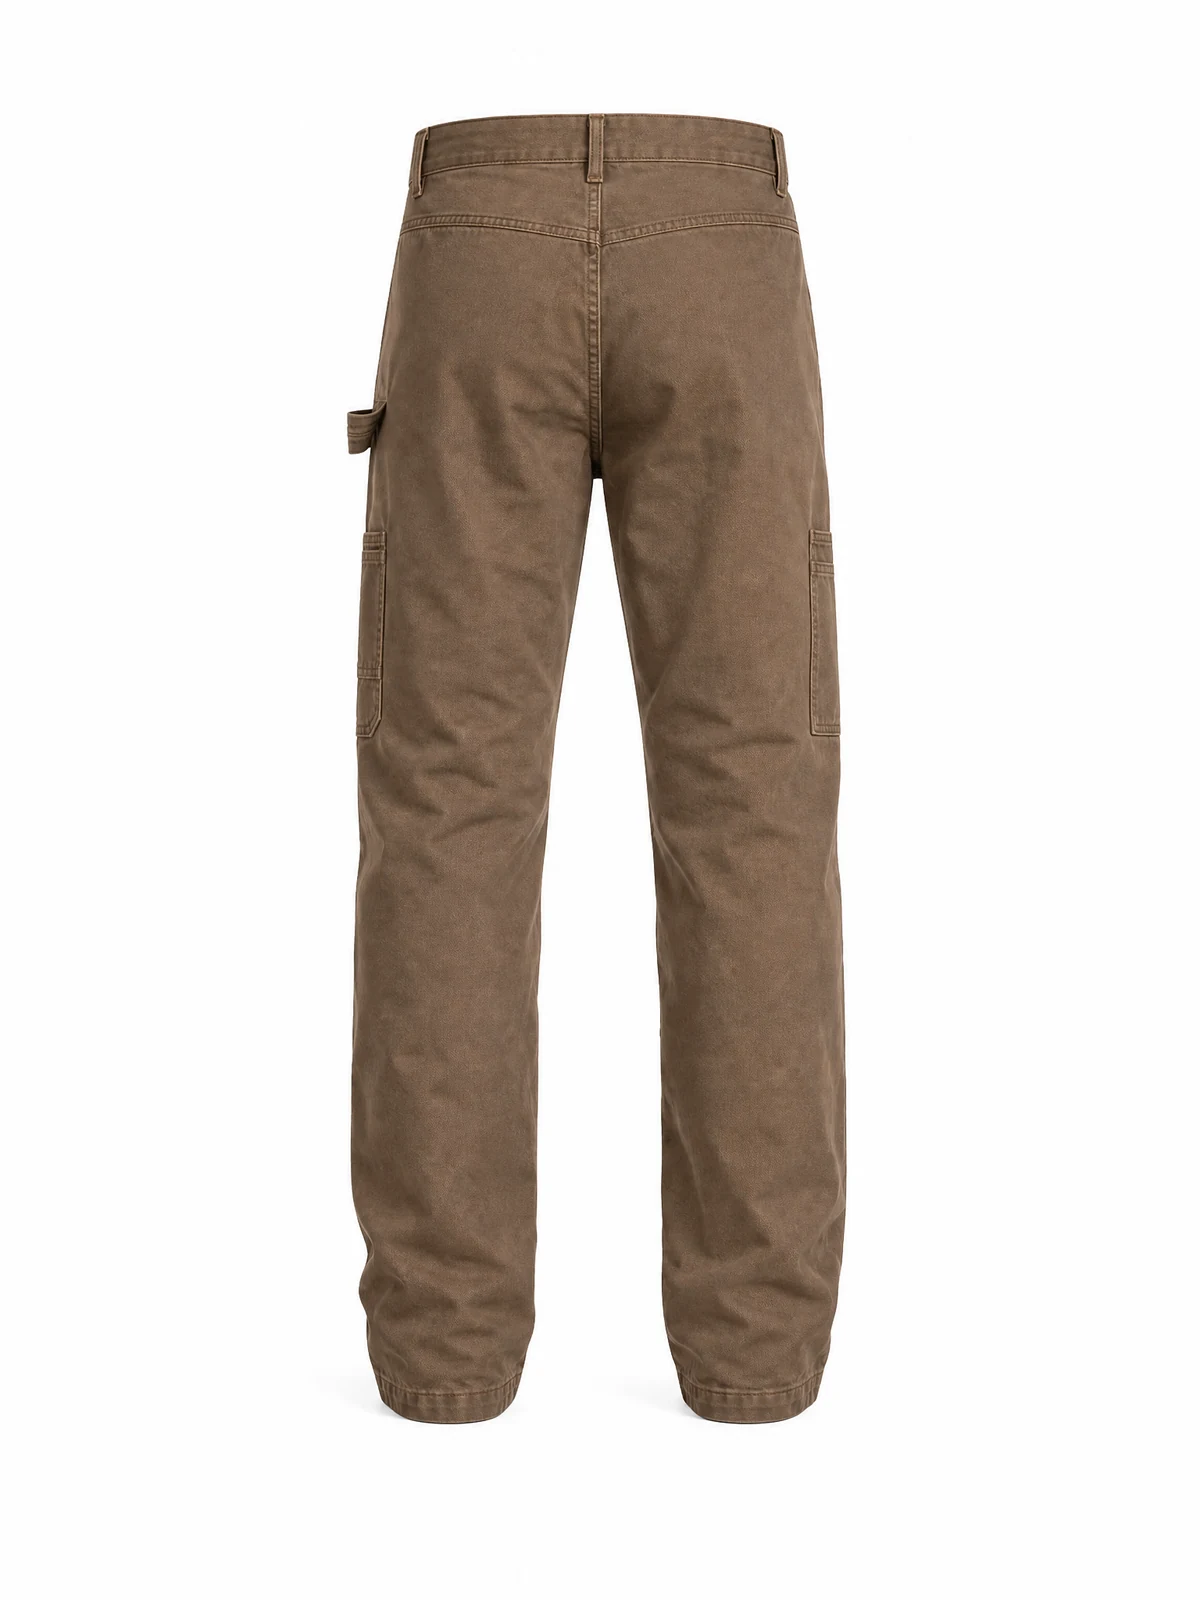
Develop custom carpenter pants with your own fit, labels and utility-pocket layout. Specify the loop and pocket dimensions on the tech pack; any workwear performance requirements need separate testing and approval.
Design Details to Review
- Carpenter-style utility pockets
- Side loop detail
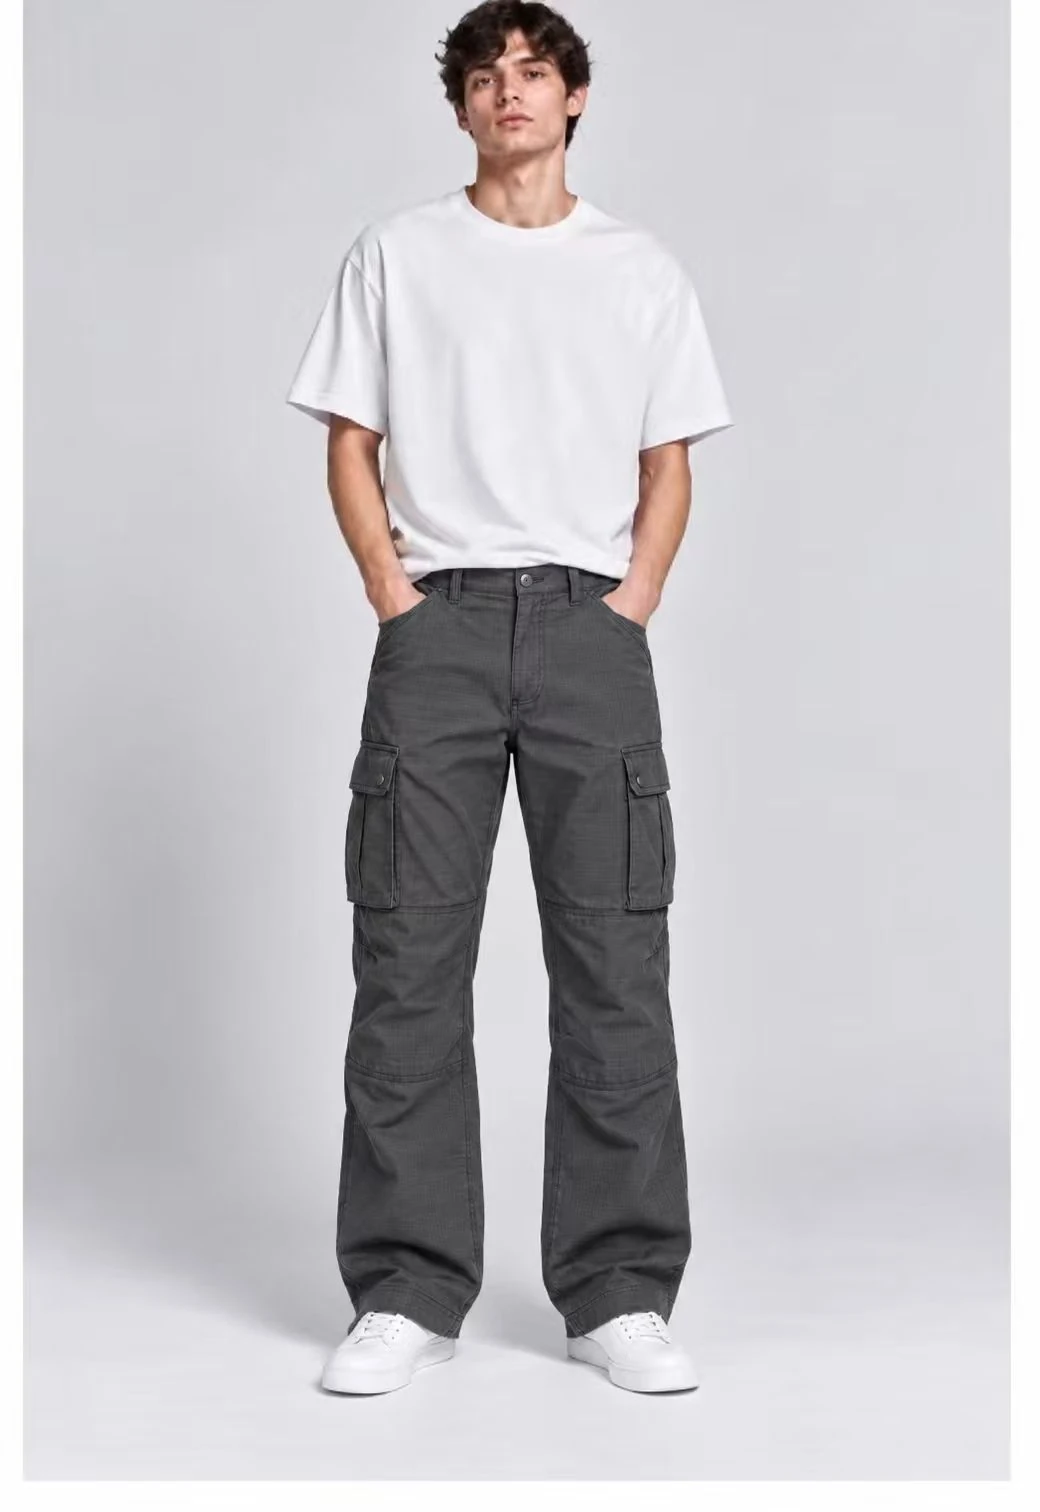
- Knee-panel seam layout
- Belt-loop waistband and open hem
MOQ & Lead Time
- MOQ: 100 pieces per style per color; mixed sizes allowed.
- Material: Composition, fabric weight and finish confirmed on the approved sample.
- Sampling: 7–14 days after material, measurements and customization are confirmed.
- Bulk timing: 60 days after sample approval and production details are confirmed.
Product Description & Development Brief
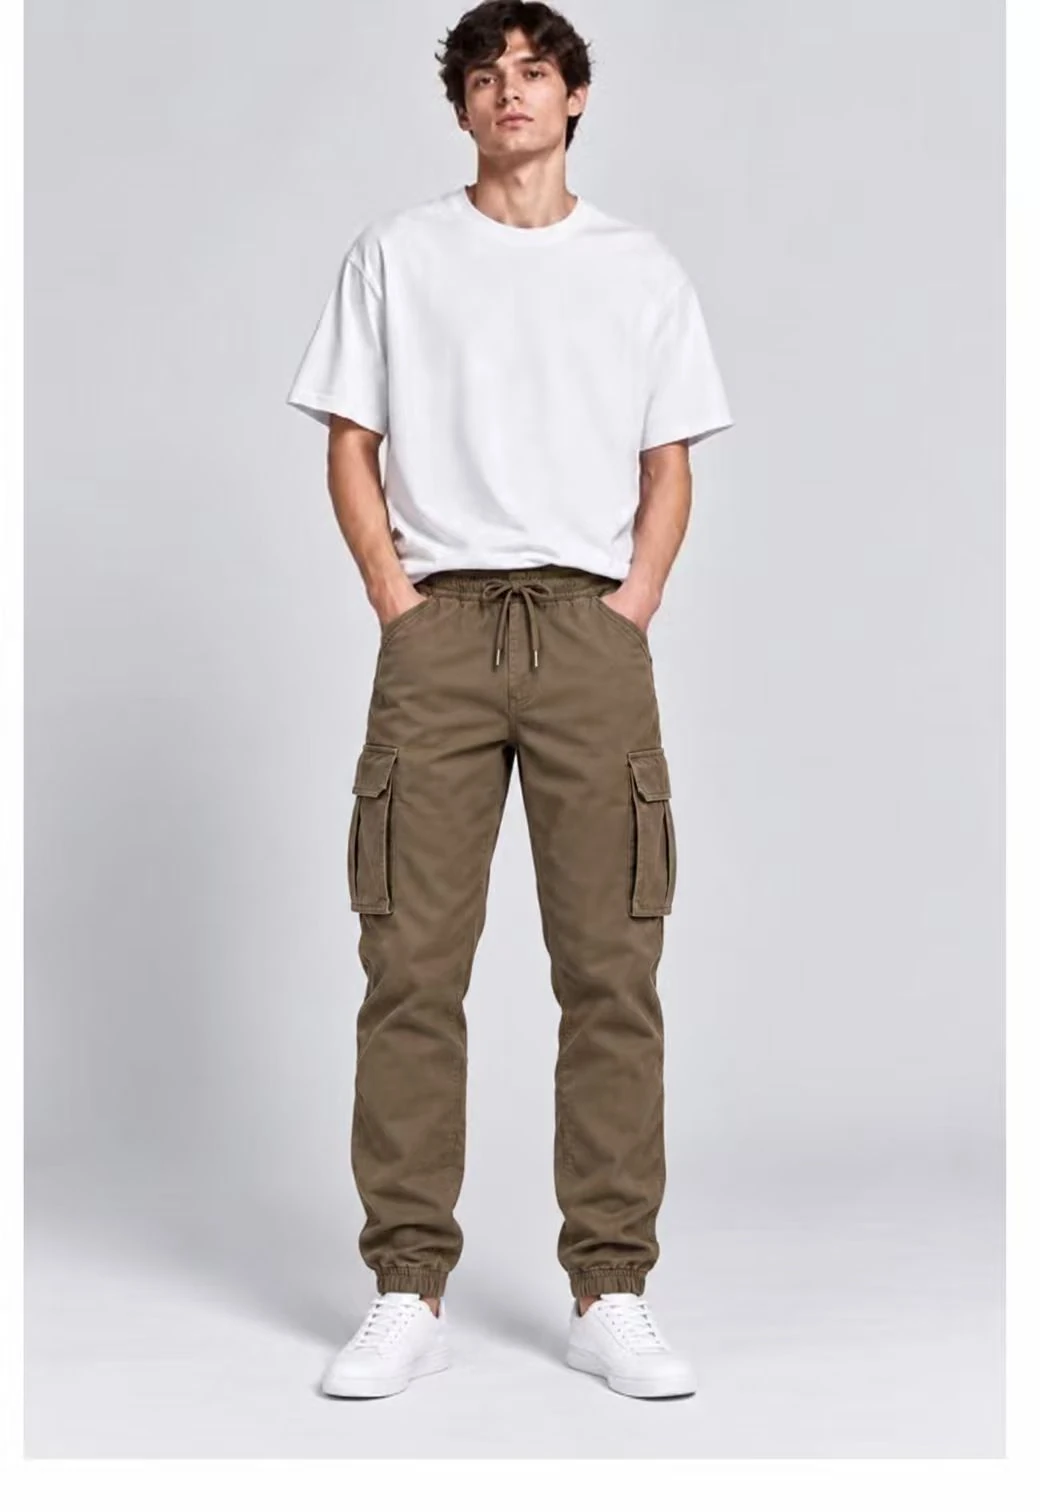
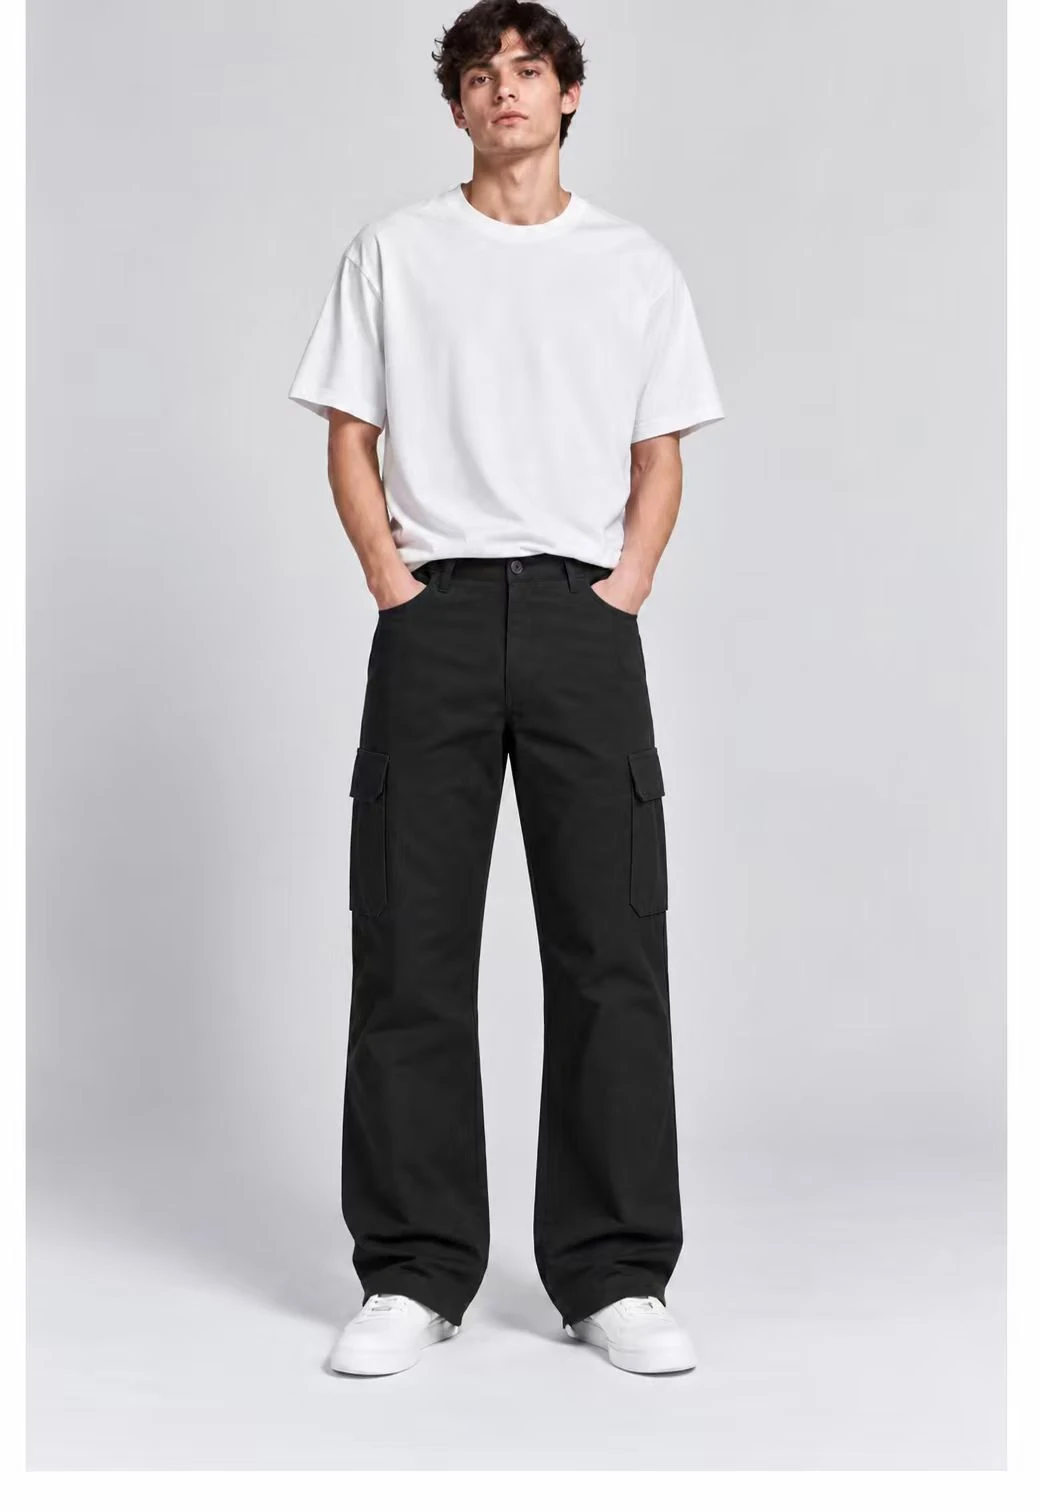
These images show a development reference. The material, measurements, construction and final shade are agreed for your project and checked on the approved sample. Browse the custom cargo pants range to compare other starting directions.
For a flap-pocket cargo alternative, compare Straight-Leg Multi-Pocket Cargo Pants. If you need a ripstop-style utility direction, review Ripstop Utility Cargo Pants and mark the differences to carry into your sample brief.
Carpenter pant details: utility loop, pocket and panel layout
Carpenter utility pants stand apart from ordinary casual trousers through their side loop and additional workwear-inspired pocket details. Each feature needs its own location and shape on the technical drawing. If a loop is designed only as a visual reference, avoid giving it an unstated load-bearing claim; if functional use matters, agree on the required construction and evaluation before production.
| Buyer decision | Specify or check |
|---|---|
| Side loop | Dimension the loop length, width, attachment points and clearance from nearby seams or pockets. |
| Utility pocket | Set entry direction, usable depth and position relative to the side seam and knee. |
| Knee panel | Mark the panel-seam path, symmetry and topstitch placement; inspect for puckering on a worn sample. |
| Attachment points | Agree whether bartacks or other reinforcements are required at high-stress joins and show exact locations. |
| Fit with accessories | Check that pockets and loops do not snag or distort the leg shape during ordinary movement. |
Use a marked-up front, back and side drawing plus clear close-up photos of approved details. Keep functional requirements separate from appearance requirements: neither a photographed hammer loop nor a ripstop look is proof of tested durability. Compare the ripstop utility cargo reference for a different pocket and panel construction direction.
Questions buyers ask
Can the loop size be decided after fabric selection? It can be refined in sampling, but its location and intended use should be stated before quote comparison.
Should every attachment be bar-tacked? The method is a design and performance decision. Specify reinforcement where needed and approve the actual appearance and function.
Sizing & Measurements
Provide the waist measurement method, front and back rise, hip, thigh, knee, inseam and hem opening. Identify the base size and size range, and mark the fit details to keep or change from the reference. For elasticated waists or cuffs, agree how the relaxed and extended measurements are taken. Use the tech pack preparation checklist to document these measurements and construction details.
Sample Approval & Quality Checks
Review the worn fit, pocket access, closure function and appearance after the agreed care process. Keep the measurement chart, selected materials and approved sample version together. Our sample development guide explains the approval sequence.
Fabric, Construction & Private Label Options
| Fabric | Confirm fiber composition, weight, construction and finish with the selected swatch. |
|---|---|
| Color | Supply the target color reference and approve the actual material shade. |
| Waist and closure | Specify the waistband construction, fastening and any drawcord or elastic components. |
| Pockets and seams | Mark pocket dimensions, placement, flap details and seam finishing on the tech pack. |
| Labels and packing | Agree brand labels, care and content text, hangtags, unit packing and carton assortment. |
Quotation Checklist & Next Steps
- Style CG-04, the reference images and your Keep / Change / Confirm notes.
- Selected material or swatch direction, color references and the measurement chart.
- Quantity by style, color and size; artwork, labels and packing requirements.
- Delivery destination, target timing and any required inspection or testing.
Use the clothing RFQ checklist to keep supplier quotations comparable. Review the OEM and ODM process for the broader production sequence.