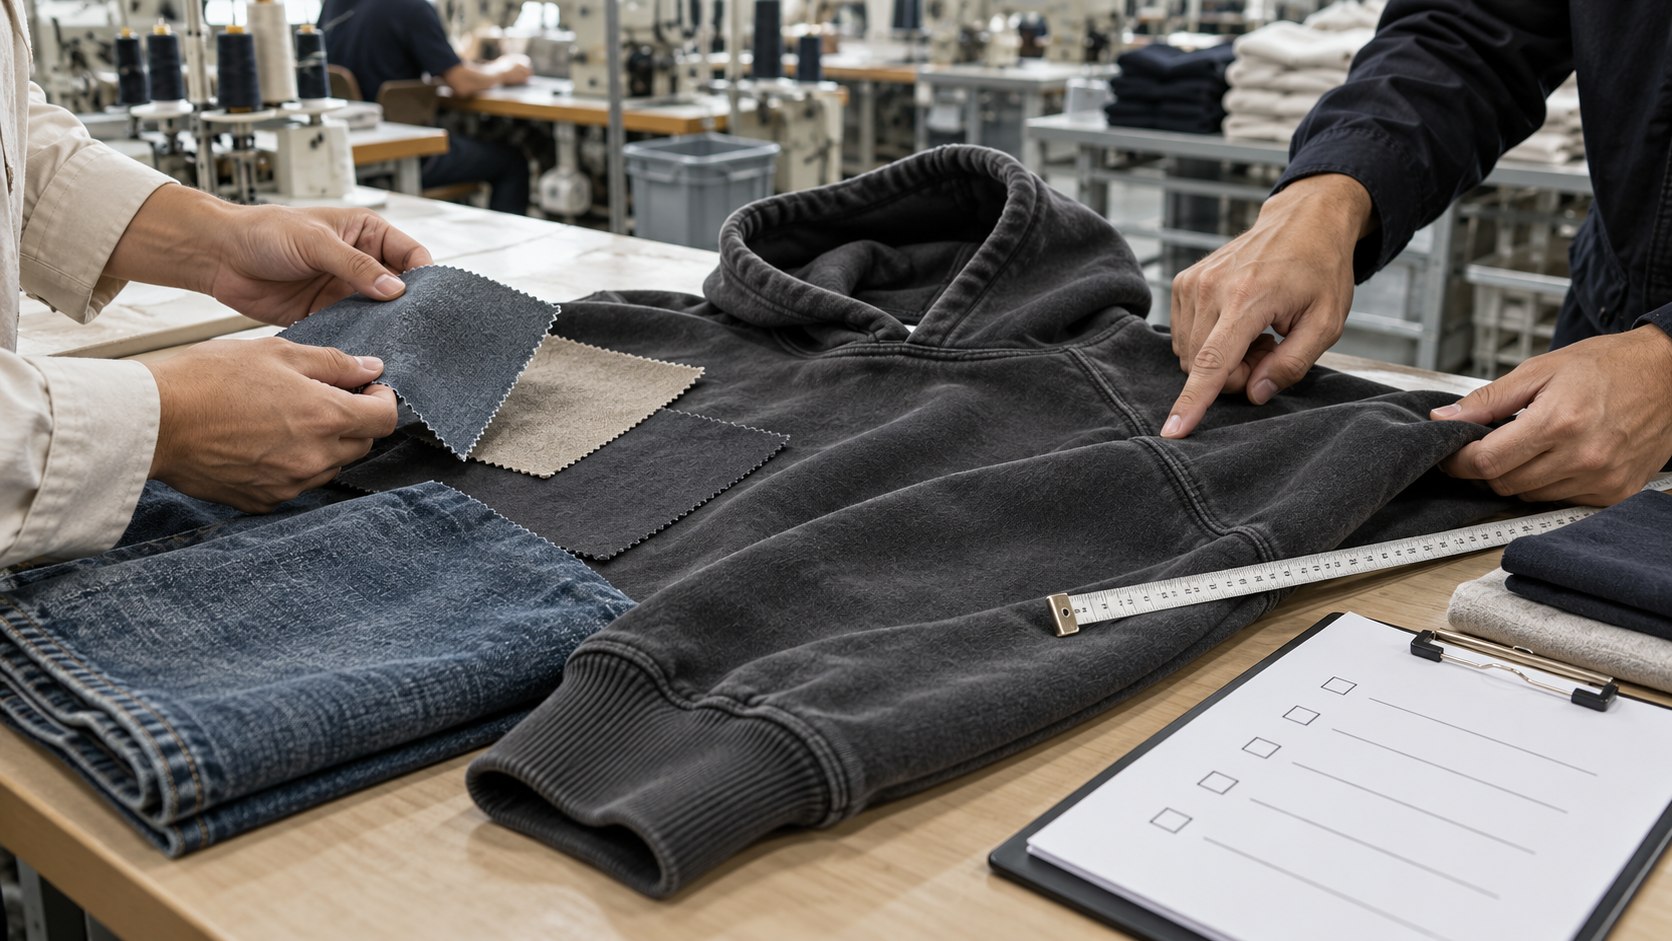
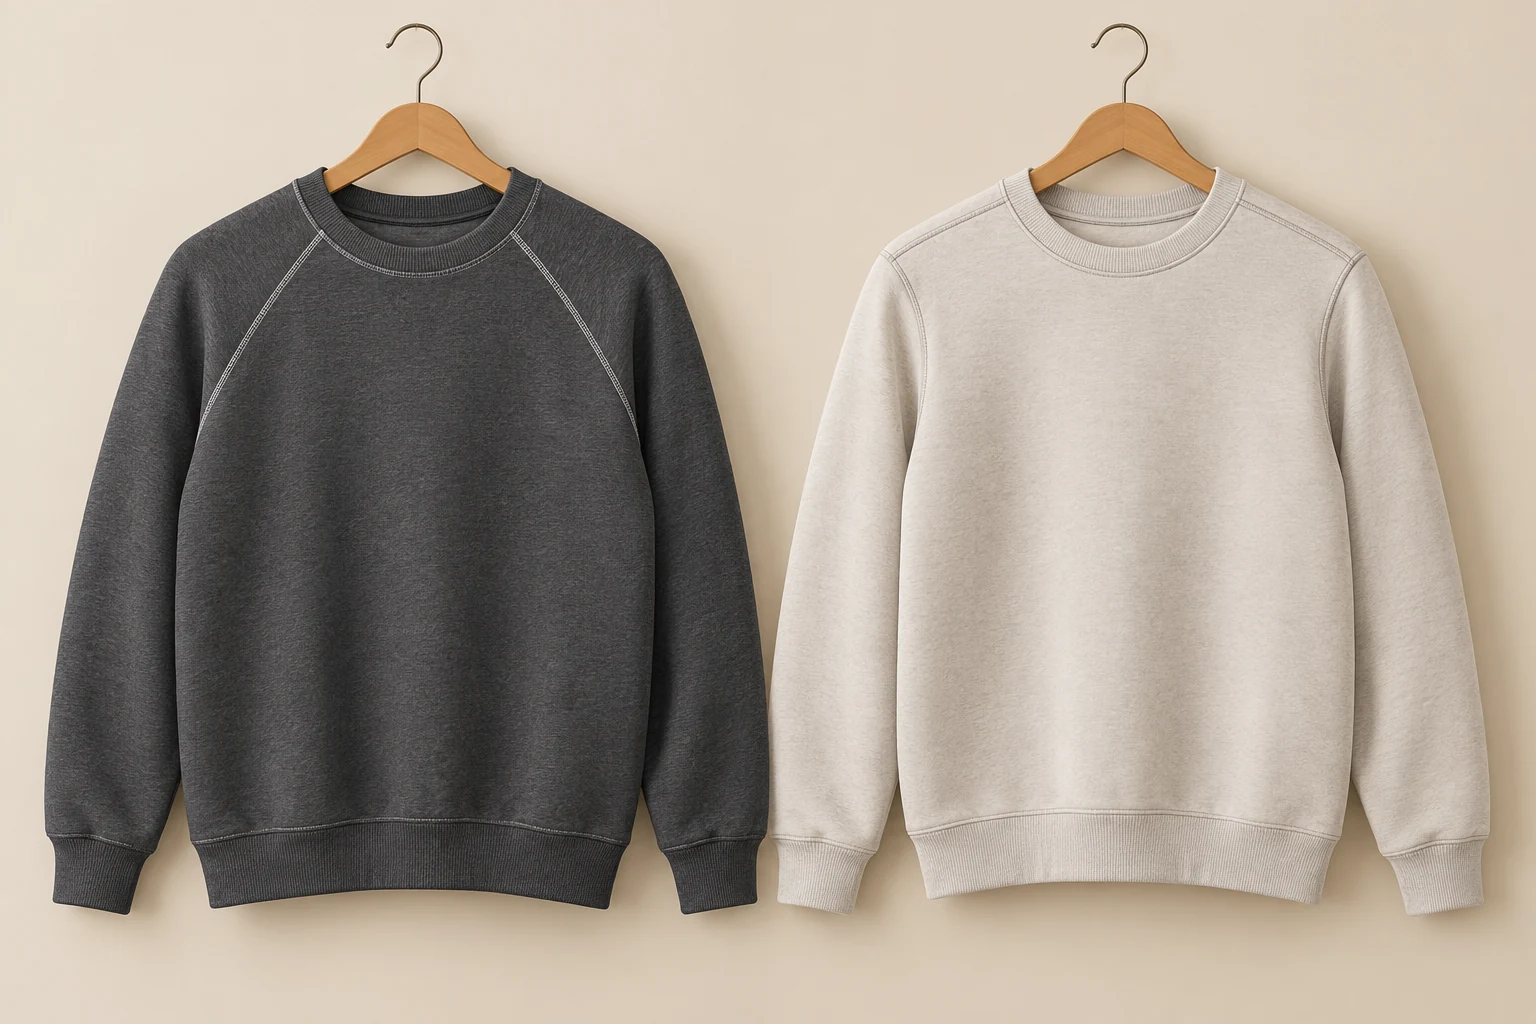
Trace the sleeve attachment on your reference garment before choosing the shoulder direction. Colour blocking, a hood or surface decoration can obscure the join, so inspect both the front and back.
For a T-shirt, sweatshirt or lightweight jacket, review how the attachment works with the intended shoulder shape and artwork. Fit still needs checking on the complete sample.
Follow the seam to identify the sleeve
In a conventional raglan construction, the sleeve extends into the shoulder area and joins the body along lines running from the underarm toward the neckline. A conventional set-in sleeve is a separate piece attached around the body’s armhole.
The position of that set-in attachment can vary. A dropped-shoulder top may still have a separate sleeve joined around an armhole, with the seam sitting farther down the arm. Shoulder drop describes placement; it does not automatically make the sleeve raglan.
Ann West’s sleeve identification guide illustrates these seam clues and the limits of judging construction from appearance. On your reference garment, follow the attachment on both front and back. Use an inside view if a print or texture makes it hard to identify.
NOVITA’s raglan pullover hoodie reference describes sleeve seams from the collar to the underarm and confirms their position with the approved sample. Its hood, pouch and rib details are separate choices; the sleeve name does not define the whole hoodie specification.
A raglan-zip sweatshirt is a useful second sleeve-shape reference when a front opening is part of the design. Compare the shoulder seam and sleeve mobility separately from zipper placement, rib finishing and the overall fit.
Compare shoulder shape and movement on the whole garment
Check shoulder shape and movement on the sample in its intended material. Pattern dimensions and available room matter alongside the sleeve attachment. A raglan sample can pull at the neck or underarm; a set-in sample may provide the movement your product needs.
| Decision | Raglan review | Set-in review |
|---|---|---|
| Shoulder appearance | Follow the diagonal attachment and its front/back balance | Check the intended shoulder edge or dropped attachment position |
| Room for movement | Observe underarm folds, neckline movement and sleeve position | Observe the armhole, sleeve position and any pulling across the body |
| Layering | Review the shoulder transition over the intended underlayer | Check the shoulder and upper-sleeve room over that same underlayer |
| Approval basis | Identify the pattern, material and sample revision | Use the same recorded basis for the comparison |
Use these fields to compare samples on the intended wearer or fit form. Assess the movements relevant to the product: reaching forward may expose a different issue from standing still for a photograph.
Record the hem lifting, the neckline shifting or folds collecting under the arm; note any sleeve rotation too. The pattern team can investigate those locations before proposing a correction.
Choose the panel layout with the artwork
Put the intended seam lines on the artwork drawing before approving decoration. The sleeve attachment changes where a graphic meets a join and which parts of the garment the design occupies.
A raglan layout offers diagonal boundaries for contrast panels, but contrasting colours can also appear on other constructions. Mark the actual sleeve joins. If a chest graphic approaches those lines, show its finished size and position against the base-size drawing.
For a set-in garment, check the graphic against the armhole and the intended shoulder position. A dropped attachment can shift the available panel area. Review the graphic on the garment shape you plan to make, even when you have used the same artwork on a previous style.
If artwork is meant to cross a seam, ask the manufacturer to review its proposed application route and the sample result. Do not assume a familiar printing method will reproduce every cross-panel design. The decorative plan and sleeve construction need a common approval reference.
Specify sleeve measurements with a drawing
Name the start and end points for sleeve length. A measurement from a set-in sleeve’s attachment seam and one taken from the neck along a raglan sleeve describe different paths. The figures need their methods beside them. The tech pack preparation checklist helps buyers make those measurement points explicit.
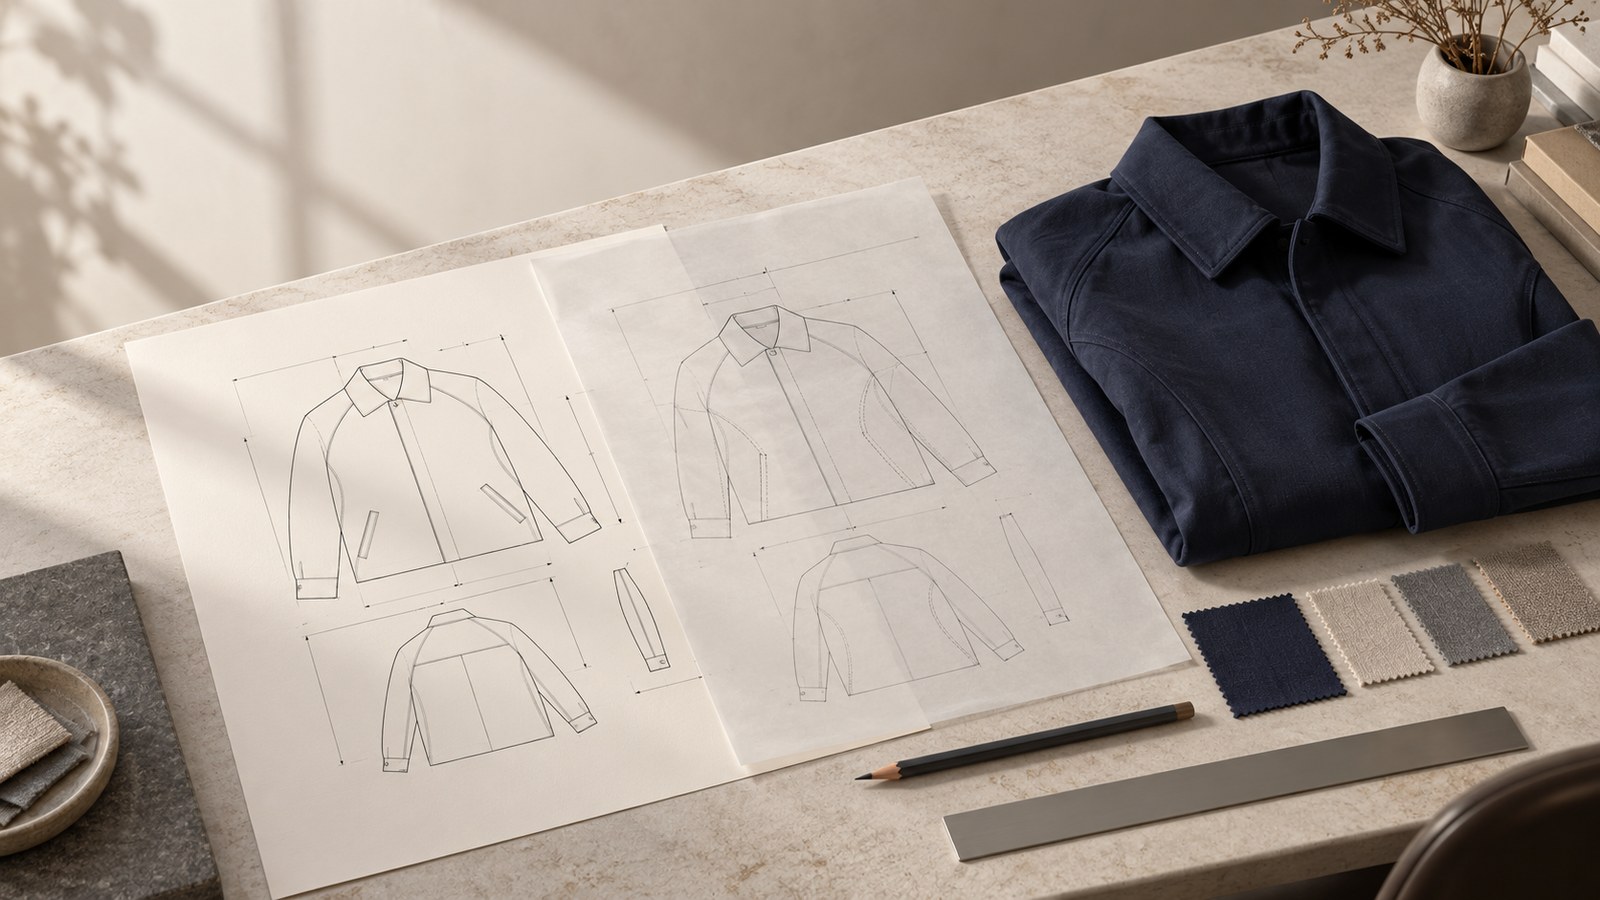
Mark the path on a flat drawing or a photograph of the reference garment. State whether it follows the upper sleeve, uses a defined straight line or includes another part of the shoulder. Use the method agreed for that project and keep it consistent across sample revisions.
Record upper-sleeve room, opening or cuff dimensions and the other points needed to describe the fit. On a set-in sample, the shoulder span and armhole requirements may help explain the attachment position. For a raglan sample, the marked seam position and front/back drawings help show the intended shoulder transition.
Give the factory a measurement chart for each approved sleeve design. Check the reference points before carrying a sleeve-length figure from one construction into the other. If you change the sleeve family during development, identify which dimensions must be redefined and which approved body dimensions remain fixed.
Keep the material and sample state in the same record. Agree whether the relevant measurements are taken before or after the requested treatment, and use the stated condition when reviewing the next version.
Review a raglan or set-in sample before approval
Check the selected sleeve in the intended fabric and sample condition. A photograph of an attachment line can help identify the construction, but it cannot settle fit or movement on the wearer.
For a raglan sample, follow both attachment lines toward the neck. Check left/right appearance and how the front and back meet the sleeve. Review any fold, ridge or pulling by location, including where the sleeve seam approaches the collar or hood.
For a set-in sample, check the attachment against the intended shoulder placement. A drop shoulder should match the design reference. Look for unwanted gathering, distortion or pulling around the armhole, and record where the sleeve sits when the wearer stands naturally.
Use the same intended movements and underlayer when comparing versions. Check what happens at the neck, underarm and hem. Ask the pattern team to review the affected areas before deciding that a different sleeve family is the solution.
Keep the sleeve attachment choice separate from the sewing detail. Our seam construction guide explains how to describe the material arrangement and inside finish. A raglan or set-in label establishes where the sleeve joins; the join still needs its own agreed construction.
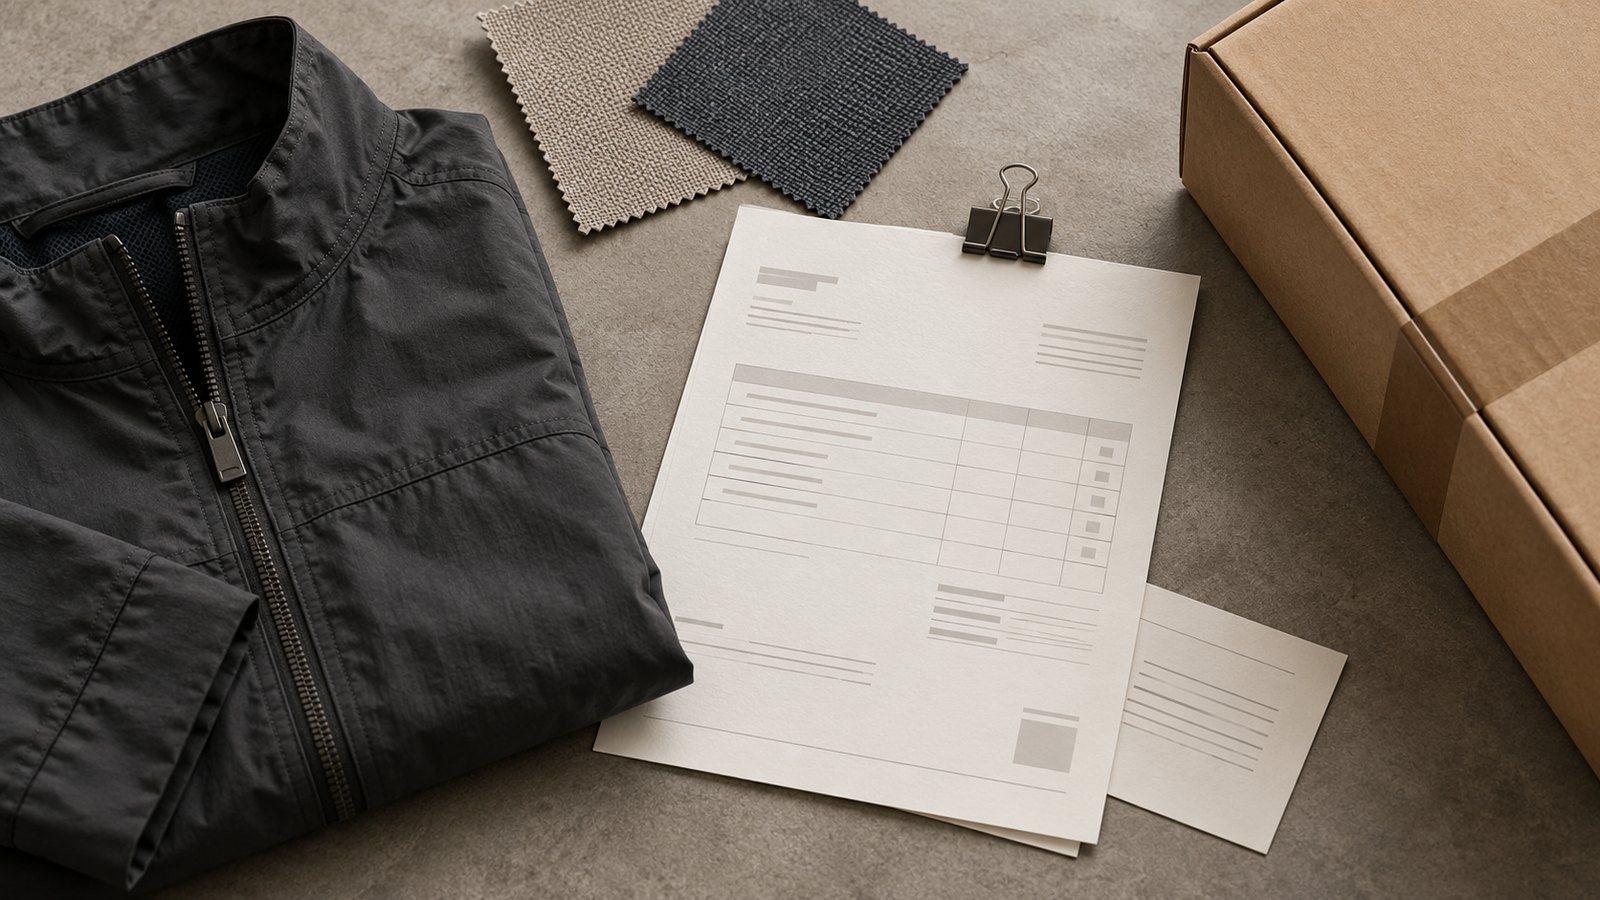
Close the review with one consolidated comment sheet: sample identifier, finding, requested correction, revised reference and approval status. The comments should distinguish observations from changes the factory has confirmed. Identify any material, sleeve measurement or attachment position still open before marking the fit approved.
Turn the sleeve choice into a sample brief
Send a garment reference showing the attachment on both faces, the intended fit, measurement methods and material direction. Add the hood or neckline drawing where relevant, plus artwork and any planned layering requirement.
NOVITA’s raglan hoodie product page lists sleeve-seam position, body and sleeve length among the details to confirm with the approved sample. Use those fields to describe your project, while keeping the actual dimensions and material choices open until agreed.
The sample development and approval guide covers the wider workflow. To discuss the sleeve direction for a menswear development project, send NOVITA the marked garment reference and sample brief. Include the questions you want resolved before pattern and sample approval.