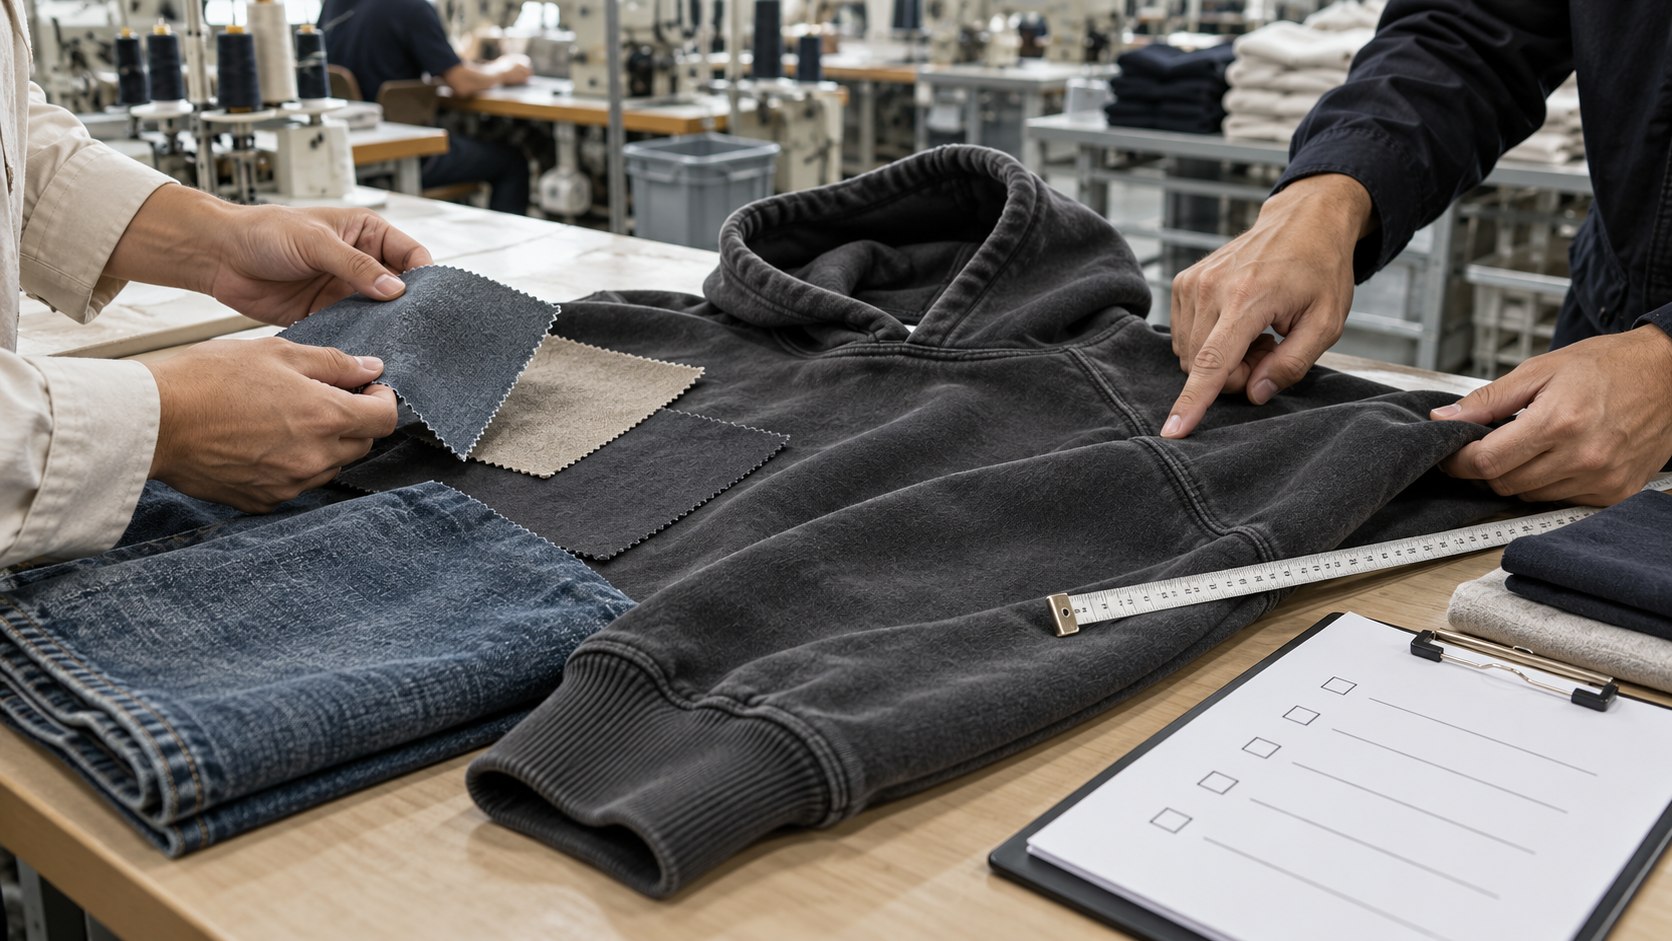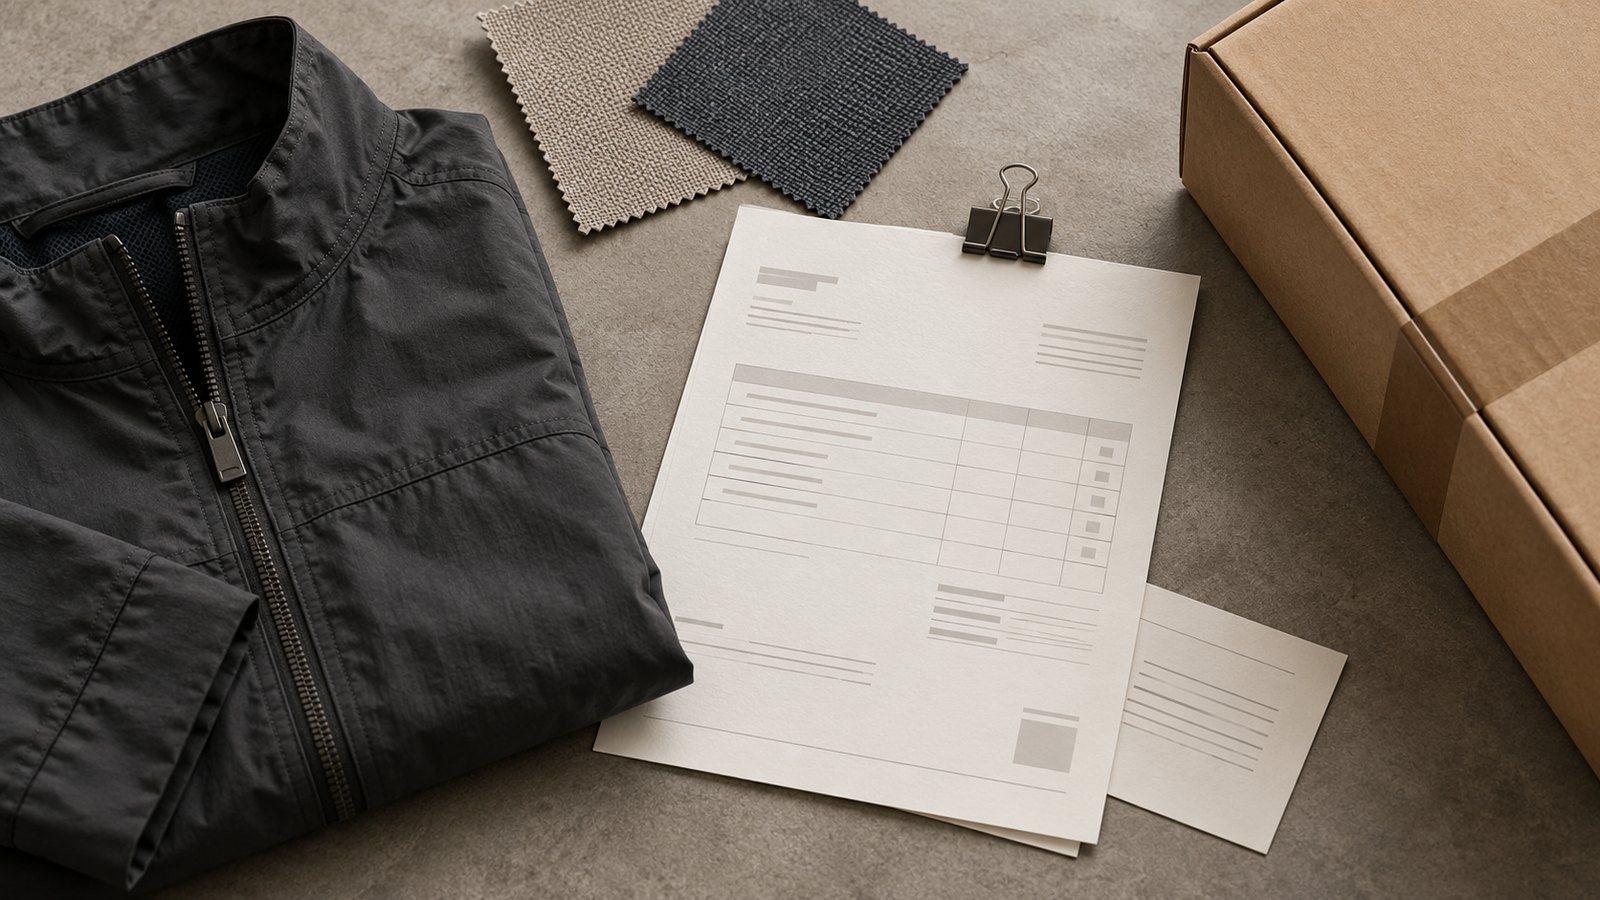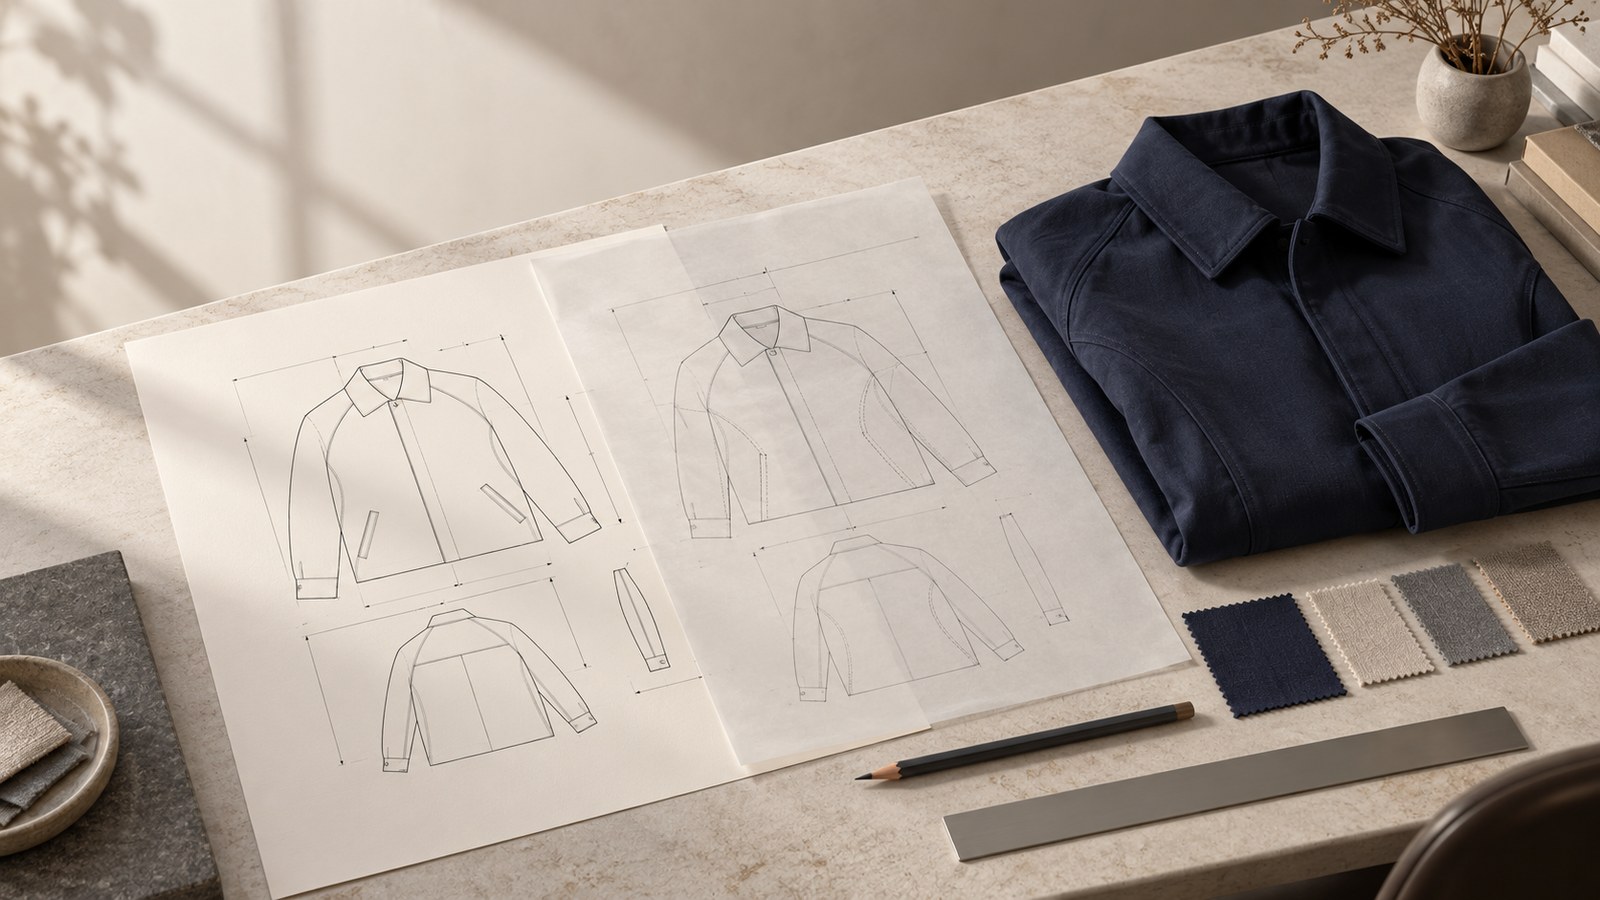
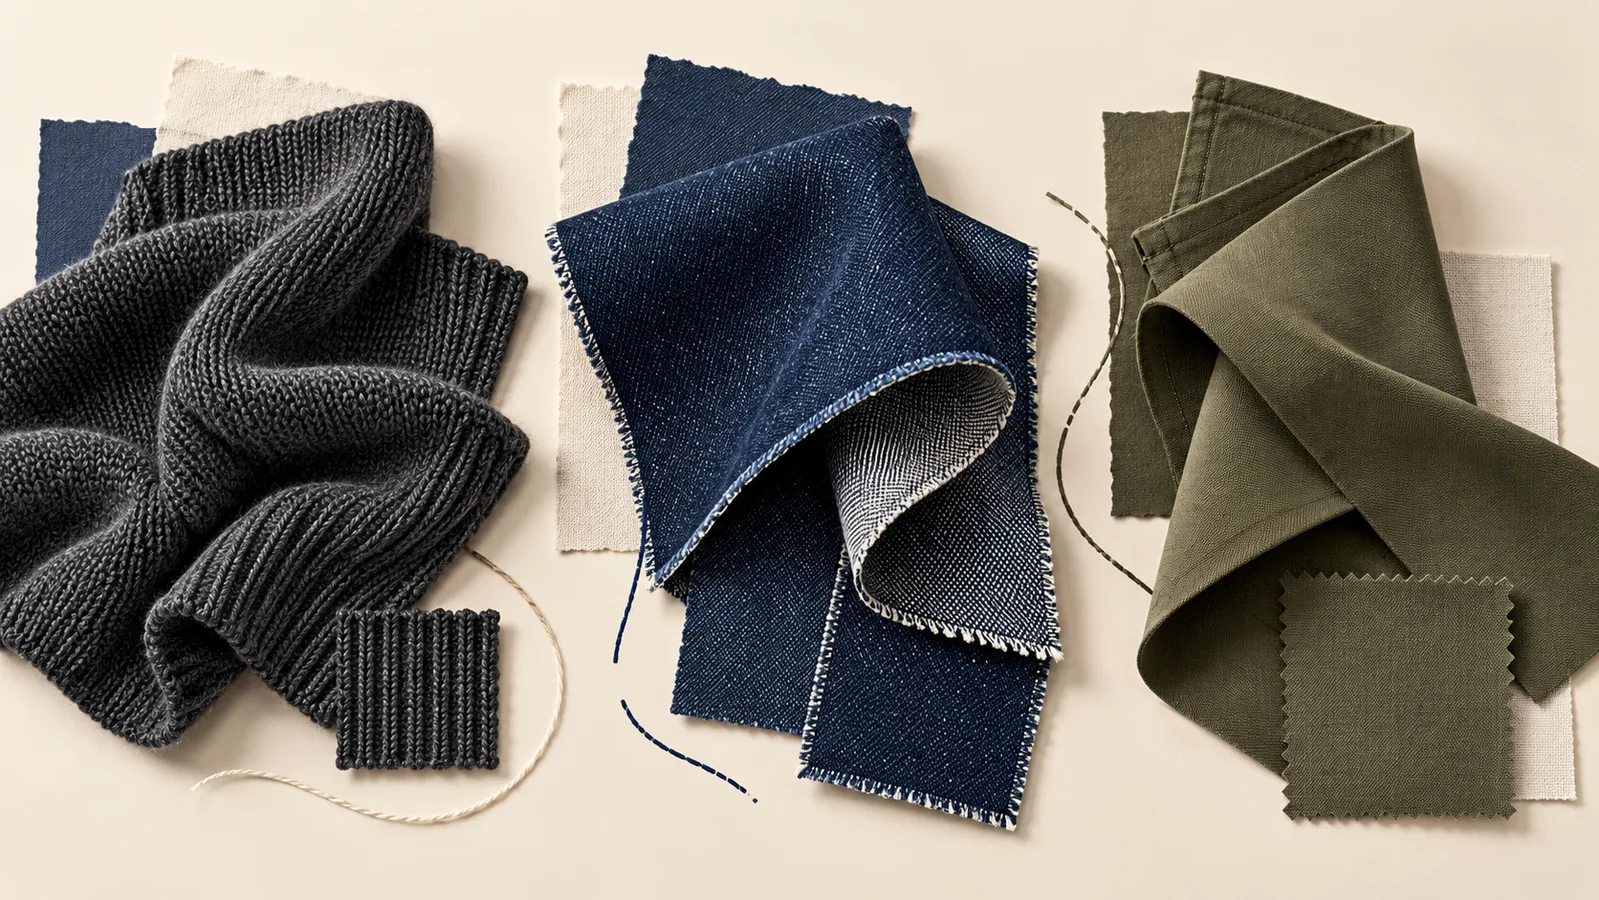
Two samples can have similar topstitching while hiding different folds and raw edges inside. For a clothing buyer, comparing types of seams means looking beyond the visible stitch line: how are the materials joined, which edges remain exposed, and what happens where several seams meet?
Seam construction affects the inside finish, bulk and appearance of a garment. Performance also depends on the fabric, stitching and sewing setup. A construction that works on one material is a starting point for development, not automatic approval for another.
Use the comparisons below to choose a construction for each garment location, describe it in the tech pack, and review the sample against that description.
Seam type, stitch type and seam allowance: keep the fields separate
These fields answer different questions:
| Field | What it describes | What the buyer needs to record |
|---|---|---|
| Stitch type | How the sewing threads form the stitch | The agreed stitch identification for the operation |
| Seam type / construction | How material components are arranged and stitched: stacked, overlapped, enclosed, bound or brought together at their edges | A construction description and section drawing, with any agreed seam designation |
| Seam allowance | Material allowed beyond a defined seam line, with a stated document and measurement basis | The relevant pattern or sewn-seam requirement and its reference |
ISO 4915:1991 addresses stitch types; ISO 4916:1991 addresses stitched seam types and their material configurations. Naming a seam does not complete the stitch specification, and naming a stitch does not explain the folds beneath it.
Our stitch types guide covers the thread-formation fields. For dimensions, distinguish pattern allowance from a measurement on the joined seam using the seam allowance guide. Keep those requirements alongside the construction detail.
The main types of seams buyers should recognize
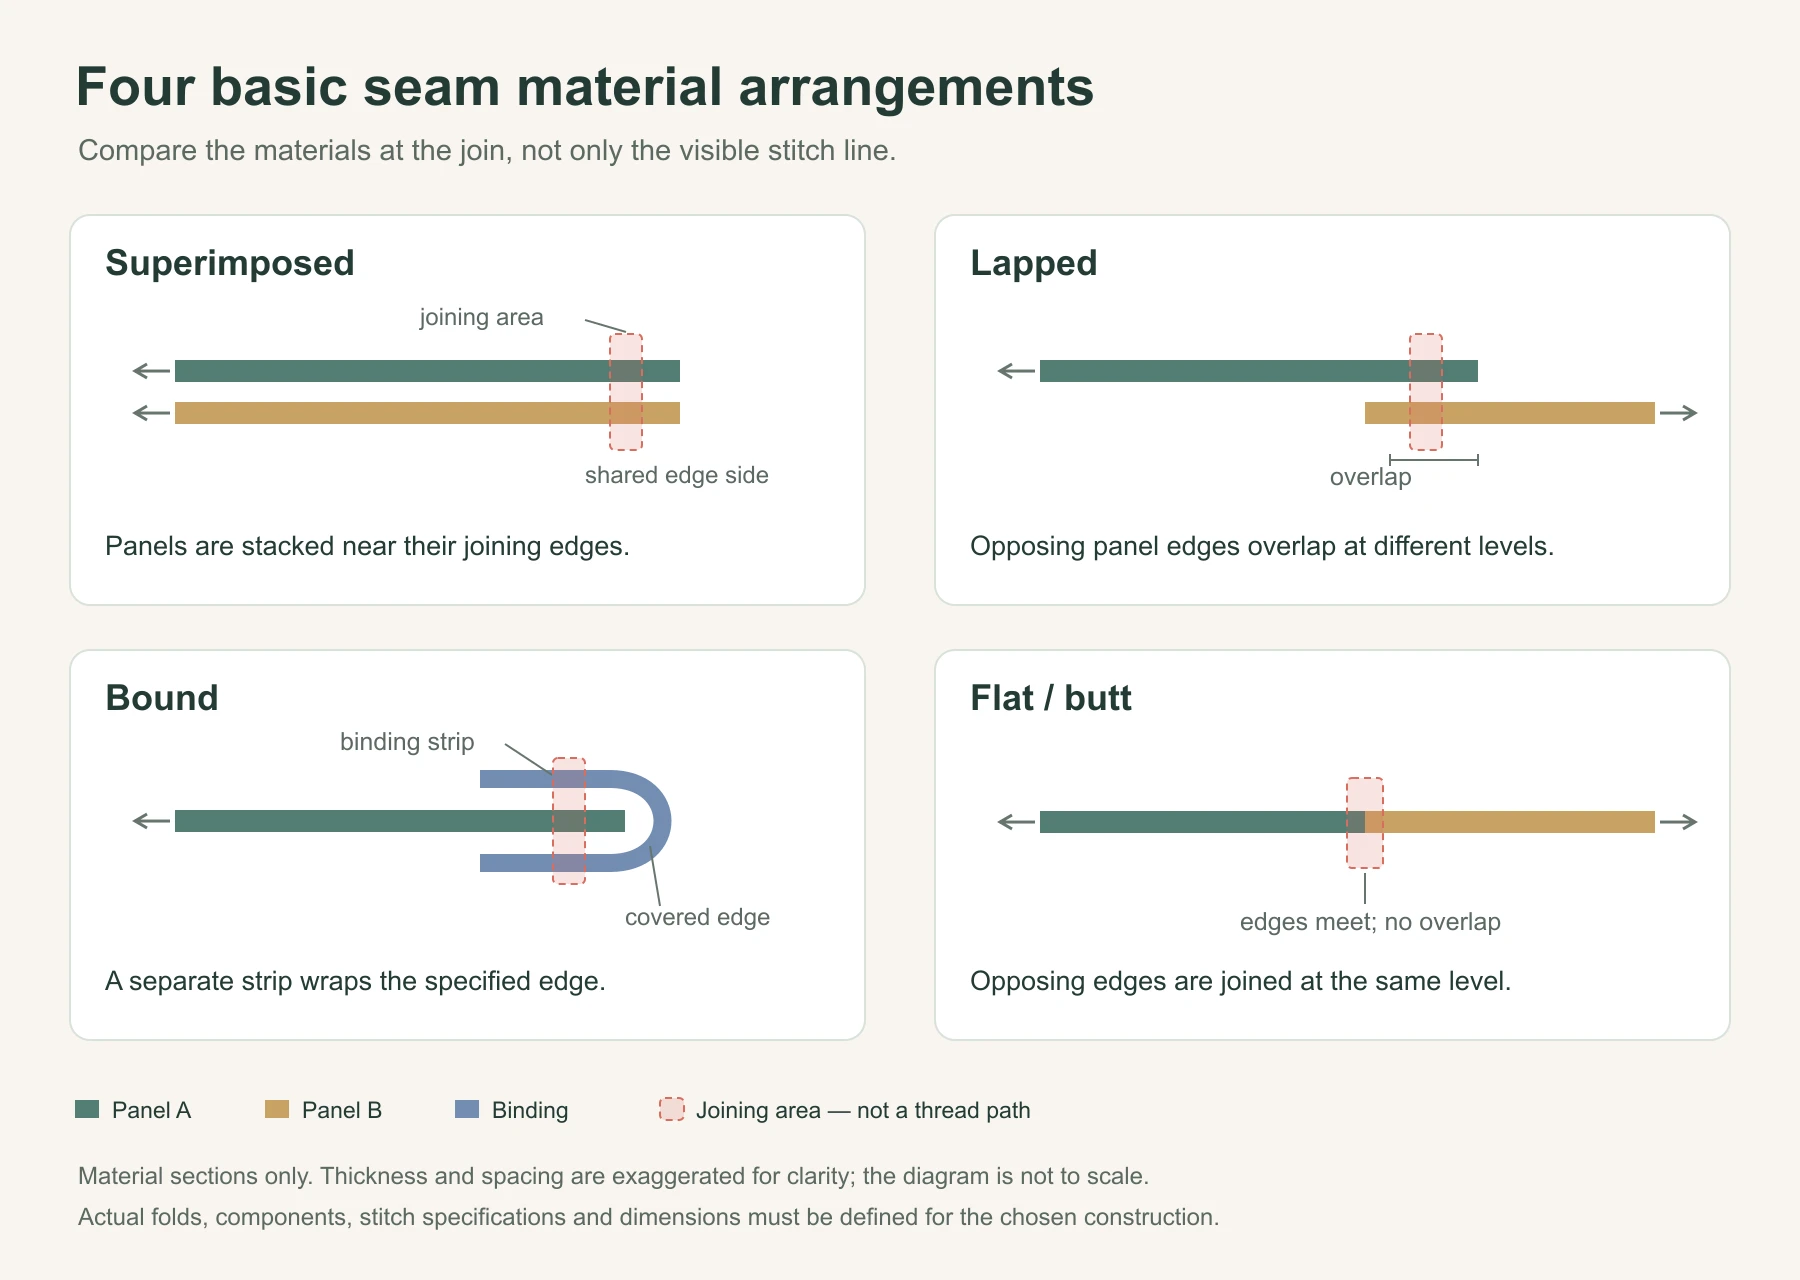
ISO 4916 divides stitched seams into eight classes according to their components. The familiar names below describe four important material arrangements. Each family contains variants; a family name alone is not a finished production specification.
Superimposed seams: materials placed together and joined
In a superimposed construction, material components are placed over one another, with their joining edges on the same side, and stitched near an edge. A plain panel join is a useful starting example. What happens to its allowances afterward—left open, laid to one side, neatened or enclosed—needs further explanation.
“Plain seam” therefore leaves decisions open. On an inside seam, ask which cut edges will remain visible and how they will be finished. A French-style enclosure adds folding and encloses the raw edges, but the common name still needs an agreed detail. Show the finished section rather than assuming every supplier uses the name identically.
The buying decision is often about the finish the garment needs. An open arrangement may suit a design where allowances need to lie separately; an enclosure may suit a visible interior. Confirm the resulting thickness and handling on the actual material.
Lapped seams: an overlap is part of the construction
Lapped seams join components whose edges overlap, either unfolded or folded. A felled construction is an important version: folded edges are secured within the assembly. A&E’s seam type matrix illustrates a felled arrangement used for jeans, shirts and jackets.
A fully felled seam and a mock-felled finish can give a similar exterior impression while arranging the material differently inside. Ask to see both faces and the section. Do not approve edge enclosure from the number of visible stitch rows.
Where folds accumulate, assess the whole assembly. The seam may look acceptable along a straight panel but feel bulky where it crosses another seam. The factory also needs to confirm that its proposed method can handle the selected fabric and construction.
Bound seams: a separate strip covers an edge
A binding strip folds around a material edge and is attached to it. This can give an exposed interior or garment edge a controlled finish. The strip becomes another material choice, with its own thickness, feel and behavior.
Binding an allowance after joining two panels is a finishing decision as well as part of the overall assembly. Identify the panel join separately from the bound edge. Specify what the strip covers and what should remain visible; “bound seam” does not answer all of those questions.
Flat seams: edges meet without an overlap
In the flat or butt arrangement discussed here, opposing material edges meet at the same level and are joined across the edges. The construction avoids the overlapping material stack at that joint. Coats’ seam classification guide distinguishes this arrangement from lapped and bound constructions.
Flat does not mean flat-felled. Nor does a low profile establish the stretch or comfort of a finished seam. Thread formation, material and setup still matter. If a specification says “flatlock,” request the intended material arrangement: a machine or finish name does not identify the exact seam construction.
The remaining ISO classes cover decorative stitching, edge neatening, attaching separate items and single-ply construction. These are useful categories for operations such as finishing an edge or making a folded component. They also explain why the classification includes more than joining two garment panels. An edge finish alone does not identify the panel join.
Seam construction comparison: what changes the buying decision
Start with the function of the seam, then compare constructions that could meet it. This table is a development aid, not a strength ranking or a tested specification for every fabric.
| Construction | What changes in the material arrangement | Reason to consider it | Limitation to resolve | Buyer verification |
|---|---|---|---|---|
| Plain superimposed join | Components are joined near an edge; allowances need an agreed arrangement and finish | A straightforward panel join where the inside treatment can be chosen separately | Exposed edges, allowance direction and local thickness remain decisions | Compare the section and inside finish with the construction detail |
| French-style enclosure | Folding encloses the cut edges within the seam | An enclosed interior where raw edges would otherwise be visible | The fold must suit the material, seam shape and desired drape | Check that the intended edges are enclosed without unwanted bulk or distortion |
| Felled/lapped construction | Overlapping components and folds form the secured joint | An enclosed, visibly topstitched assembly when the design calls for it | Added layers at crossings and the factory’s ability to form the chosen folds | Review enclosure, finished width, visible lines and intersections |
| Bound edge or seam finish | A separate strip wraps the specified edge | A deliberate finish on an exposed edge or interior allowance | Strip compatibility, coverage and thickness; it does not define every panel join | Check both binding edges, coverage and the separate joining operation |
| Flat/butt join | Opposing edges meet without material overlap between them | A joint where overlapping bulk is undesirable | Alignment, coverage, seam feel and extension still need validation | Inspect both faces and confirm the selected sewing system on the actual fabric |
| Edge neatening | Stitching finishes the edge of a component | Control of a specified exposed raw edge | Finishing an edge is not necessarily joining it to another panel | Identify which edge is finished and where the load-bearing join is |
Before comparing prices, check whether the quotes describe the same finished arrangement. Different edge finishes, added strips or different folding methods can change the work involved. Ask the supplier to identify its proposed construction and any variation from your detail; the seam name is not enough to compare the quotations.
Choosing seams for knitwear, T-shirts and polo shirts
For cut-and-sew knitted garments, start with the movement required at the seam location. A body side seam, shoulder attachment and neckline do not perform the same job. Consider the material’s extension, the fit and whether the seam touches the wearer.
A&E’s stretch-knit sewing guidance discusses overedge and coverstitch constructions, and the interaction of thread, stitch balance and seam dimensions. The useful purchasing point is that a stretchy fabric needs a compatible sewing system. A flat-looking seam or an overlock label cannot establish that compatibility by itself.
On a T-shirt, compare the proposed side and underarm seams for inside feel and their behavior during intended movement. Where a flat/butt arrangement is being considered to reduce overlapping bulk, check edge alignment and seam coverage as well. A construction that feels unobtrusive on a flat swatch may need further review at a curved or intersecting seam.
Treat the neckline as its own detail. Attaching a rib neckband and covering an edge with a binding strip are different instructions. Show the components, folds and attachment in the drawing. If an additional tape is requested, state its location and purpose rather than letting “neck finish” stand for several operations.
For a polo, separate collar attachment, placket construction, shoulder seams and the inside neck finish. The placket may combine materials that do not behave like the body fabric. Review the finished opening and transitions between those materials, not just a straight body seam. Keep the required appearance and movement tied to the approved fabric and sample.
Denim and outerwear: check the complete assembly
Denim: enclosure and topstitching are separate checks
In custom denim manufacturing, a felled construction can provide the enclosed edges and visible finish wanted on a denim seam. That does not make it the right construction for every jeans location. The back yoke, inseam, crotch and pocket attachment have different shapes and intersections.
Review the seam where layers accumulate, including near pockets and crossing seams. Compare the intended folds with what the sample contains. A&E’s matrix specifies finished widths and needle spacing for particular operations; those requirements are a reminder to define the detail, not dimensions to copy into every denim tech pack.
If washing or another finish forms part of the order, review the construction after the agreed treatment. A&E’s seam-engineering bulletin treats the fabric, thread, stitch/seam construction and sewing parameters as interacting factors. Stretch denim adds another reason to verify the full combination rather than approving from the seam’s name.
Outerwear: review shell, lining and exposed edges separately
An unlined jacket may benefit from a deliberate bound interior finish. A lined style still needs a defined shell join and lining attachment; concealing a seam does not settle its construction.
For custom jacket manufacturing, look at pocket openings, zipper attachments and the points where shell, facing and lining meet. Added strips and folds can change the thickness of those assemblies. Confirm whether the proposed finish supports the intended appearance without creating unwanted stiffness or distortion.
Where weather protection is required, specify it separately. Coats’ outdoor-wear guidance discusses thread-related water resistance under particular sewing conditions. A bound, enclosed or neatly sewn seam is not proof of a waterproof garment. Any required seam treatment and performance assessment need their own agreed requirements; the seam classification does not supply a pass result.
How to specify seam construction in a tech pack
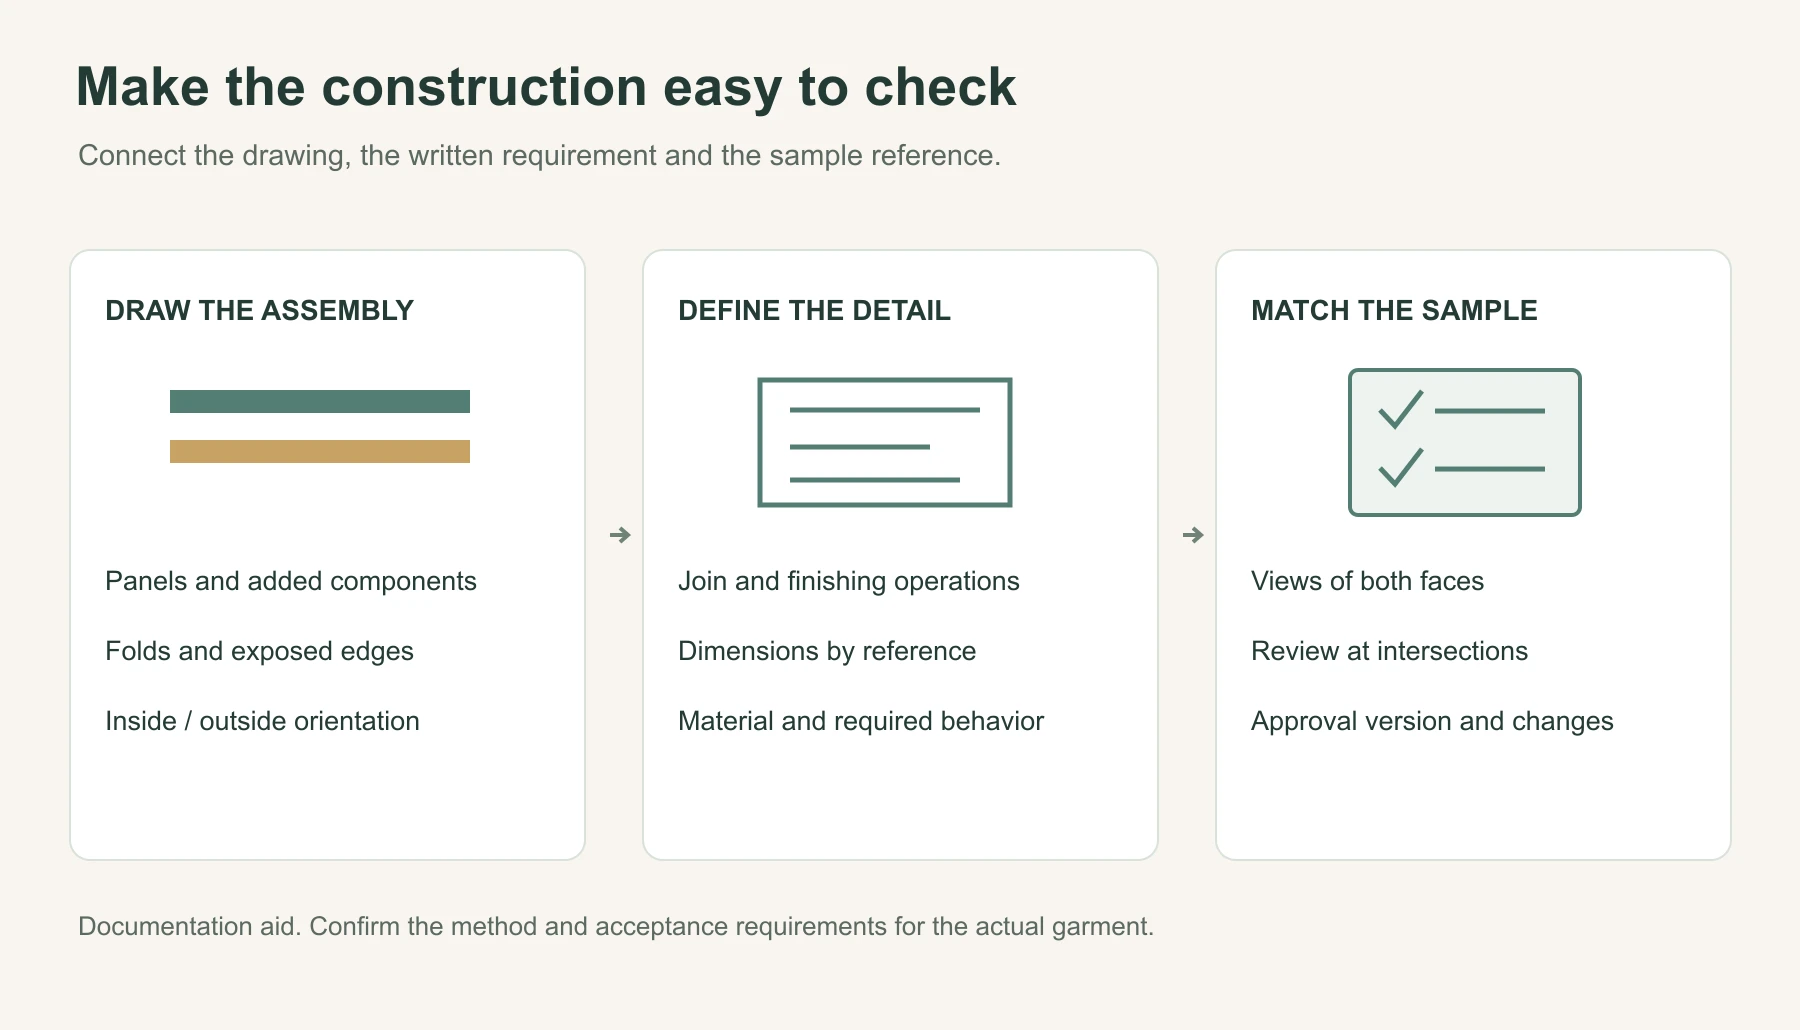
Give the factory enough information to distinguish the intended assembly from another one with a similar exterior. A photograph is useful, but a construction section explains folds and edges that the photograph may conceal.
For each relevant location, record:
- Location and components. Identify the panels, strips, bands, facing or lining involved. Connect the detail to the garment drawing.
- Material arrangement. Show the stacked or overlapping parts, folds, binding coverage and edges that remain exposed. Label the garment’s outside and inside.
- Joining and finishing operations. Separate the panel join from edge neatening, binding or topstitching. Record the stitch specification for each required operation in its own field.
- Dimensions and references. Define the finished seam or binding width and stitch-line placement where relevant. Link the allowance requirement to its stated measurement basis; do not infer it from a finished-width label.
- Functional requirements. State the appearance, inside feel, movement and any performance checks that must be confirmed for this location.
- Approval reference. Identify the construction drawing, fabric reference, sample version and any approved change. Update the record when the assembly changes.
If the buyer and factory use an ISO seam designation, record its agreed source and edition and confirm it against the section drawing. Do not assign a code from the common name alone. The stitch designation remains a separate part of the specification. Incorporate the detail into the wider tech pack preparation checklist.
The records below are illustrative descriptions of what to clarify. They are not tested garment recipes, standard requirements or NOVITA production specifications.
| Illustrative location | Construction instruction to resolve | Evidence needed for approval |
|---|---|---|
| Jersey T-shirt side seam | Superimposed join with the specified edge finish; show how the allowances lie inside the garment | Section drawing, inside/outside views, finished dimensions and verification of intended movement |
| Denim back yoke | Felled/lapped assembly with the required cut-edge enclosure and visible stitching shown in the detail | Fold arrangement, finished width, both faces and a view where the yoke meets another seam; assessment after the agreed finish |
| Unlined woven jacket side seam | Panel join plus a separate binding finish on the specified allowances; identify whether they are finished separately or together | Join detail, binding coverage and finished width, inside view and review of local thickness |
This level of description also makes a proposed substitution easier to review. If the supplier suggests a different assembly, compare the edges, layers and required behavior before accepting it. Carry the approved change into the written detail, not just the latest sample photograph.
A buyer’s checklist for reviewing seam construction
Review the selected construction as part of sample development and approval. Keep the assessment specific to the seam location rather than giving the whole garment an unexplained “good stitching” comment.
- Confirm the reference. Check the material and sample revision against the construction drawing you are reviewing.
- Inspect outside and inside. Follow the same seam on both faces. Confirm the visible finish and the allowance arrangement, not just the stitching color.
- Check the edges. Identify which cut edges should be enclosed, bound or neatened. Where folds conceal the assembly, request a construction swatch or a clearly identified section drawing.
- Compare the dimensions. Check the relevant finished widths and line positions against the detail, using the stated measurement reference.
- Review intersections. Look where folds, bands, pockets or crossing seams add layers. Record unwanted ridges, stiffness or distortion by location.
- Assess intended use and finish. Review movement and inside feel, then any agreed washing or finishing. Use the specified method for performance requirements; visual checks and ordinary handling do not establish a laboratory result.
- Close the construction differences. Record the finding, required change and approval reference. A correction to the sample should also update the detail that production will follow.
The broader apparel quality control checklist covers the rest of the inspection brief. Here, the goal is to establish that the sample contains the agreed seam construction and that the required checks have been completed. If a material, binding or assembly changes afterward, review the affected detail again.
FAQ
How many types of seams are there?
ISO 4916:1991 has eight classes of stitched seams, with multiple configurations within them. Common names such as plain, French and felled describe familiar constructions or finishes; they do not form a separate fixed list of all possible garment seam types.
Is a flat seam the same as a flat-felled seam?
No. A flat/butt join brings opposing edges together without overlap between the components. A felled/lapped construction uses overlap and folds. Both may look relatively flat from one side, so inspect the section rather than deciding from the name.
Is an overlock seam a complete seam specification?
No. Overlocking describes the stitching operation. You still need to identify the material arrangement, whether the operation joins panels or finishes an edge, and the required dimensions and inside finish. Link those details to the agreed stitch specification. Our garment stitch-types guide helps distinguish stitch class from seam assembly.
Can the same seam construction be used throughout a garment?
It may suit several locations, but the choice needs review at each one. A side join, collar attachment, pocket opening and lining attachment can have different material combinations, movement and appearance requirements. A garment-level seam instruction can leave those differences unresolved. See our seam allowance guide for the buyer approval details.
Can I approve seam construction from an exterior photograph?
A clear photograph can support appearance review, but it may conceal folds, exposed edges or added components. Request inside views and the construction detail. Performance requirements need the agreed assessment, not a conclusion based on neat stitching. See our reference garment specification guide for the buyer approval details.
Share your tech pack, fabric details and marked construction references with NOVITA through our contact page. Identify the seam locations where you want to review edge finishing, bulk, appearance or movement before sampling.