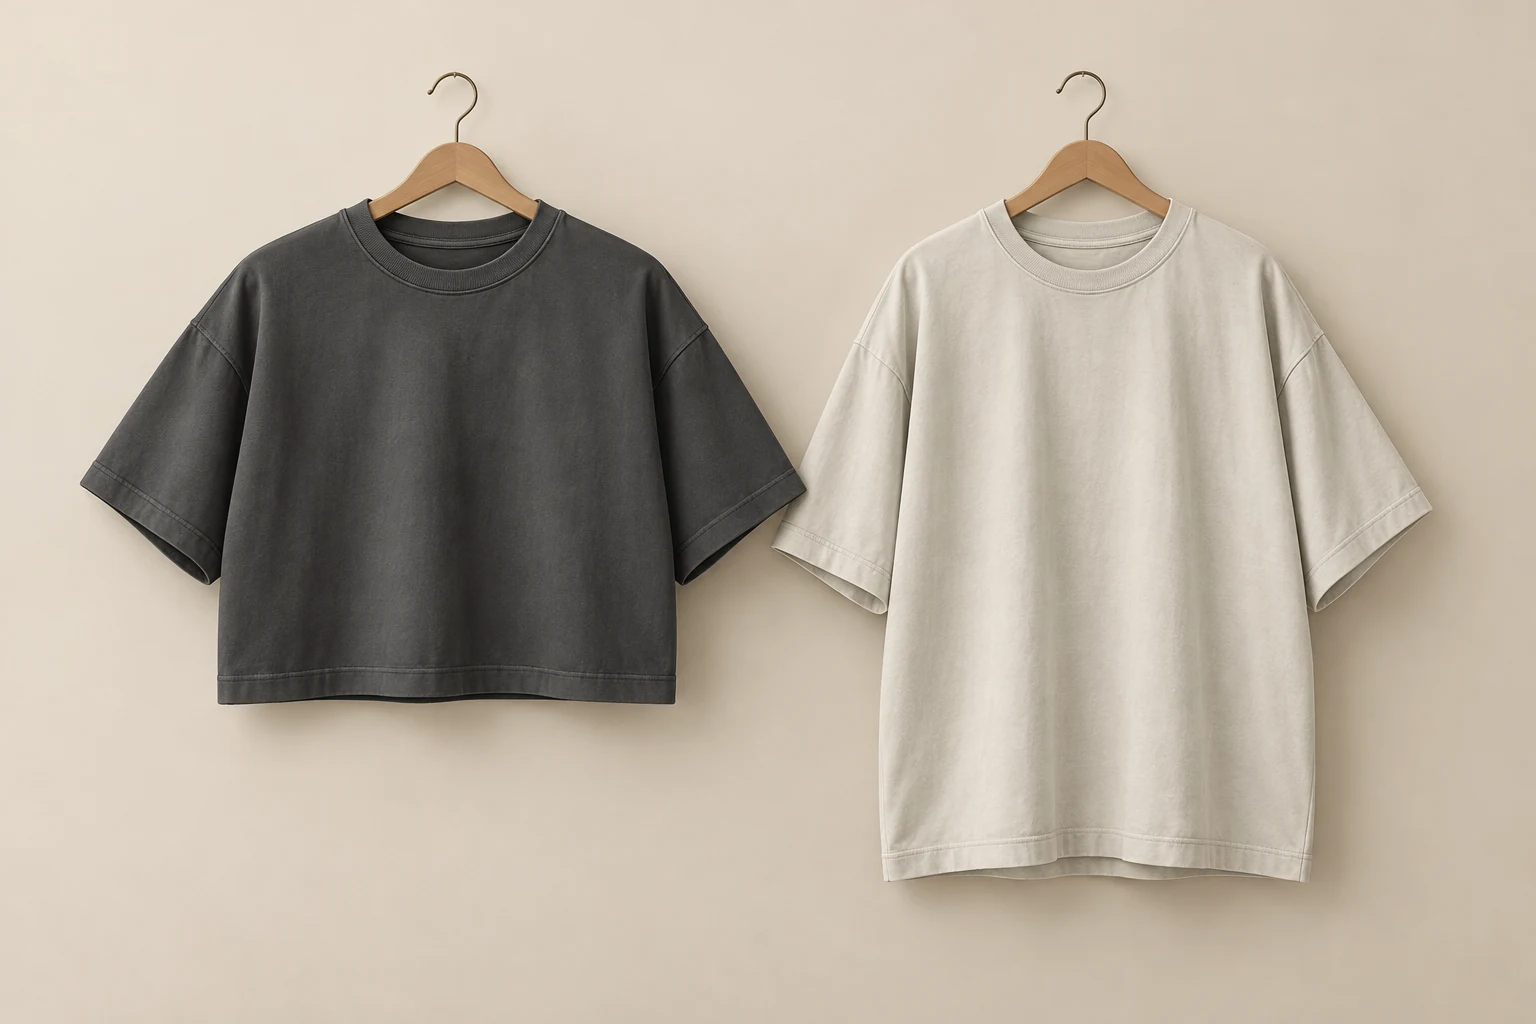
A boxy T-shirt and an oversized one can look similar on a hanger. Compare body width with length, then check the room and seam placement on the intended wearer. The same garment may meet both descriptions.
For a custom order, attach the garment measurements and material reference to the fit brief. They define what the sample needs to show.
Can a T-shirt be both boxy and oversized?
Boxy usually describes a broad body with a relatively short or controlled length. Oversized describes deliberate extra room compared with the intended wearer or the brand’s regular fit. A tee can combine those proportions with a generous fit.
A wide tee with a longer body may look loose without producing the short outline you want. A shorter tee can look boxy on the hanger while providing less room on a particular wearer. Start by deciding the appearance and the intended fit, then check both on the sample.
NOVITA’s 260 GSM oversized boxy T-shirt reference uses both terms. Its published description identifies a drop shoulder and a slightly cropped body, with measurements confirmed on the approved prototype. This is a specific product direction, not a universal sizing rule for every boxy or oversized tee.
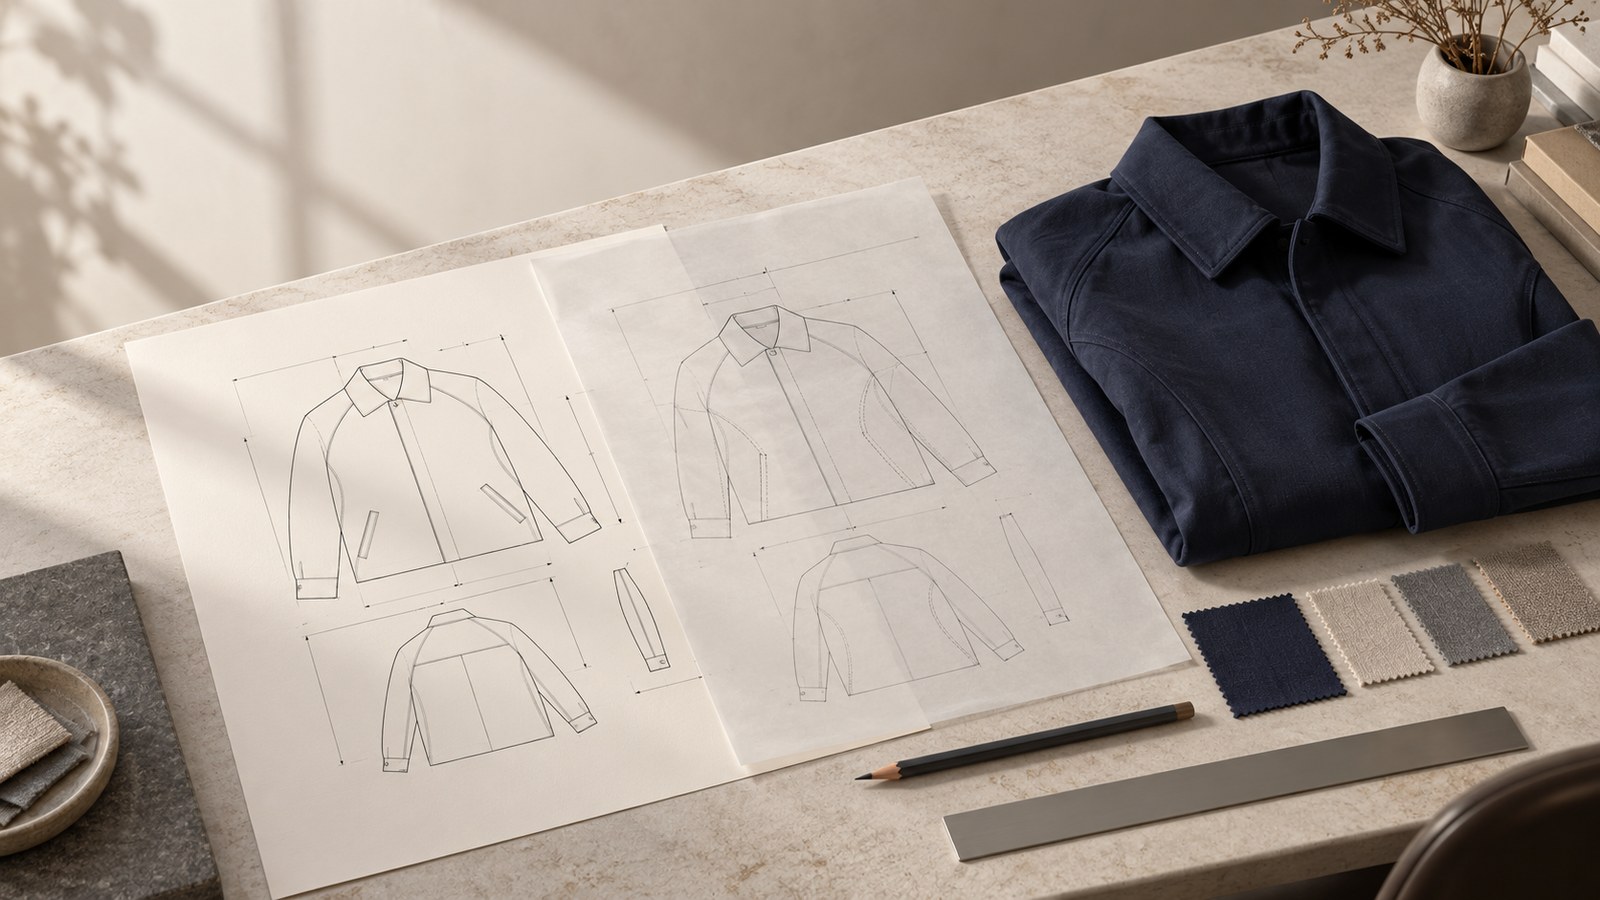
Brands use these labels differently. Keep the selected reference garment or drawing with the brief so “boxy” does not become shorthand for an unspecified reduction in length.
Read the silhouette through linked measurements
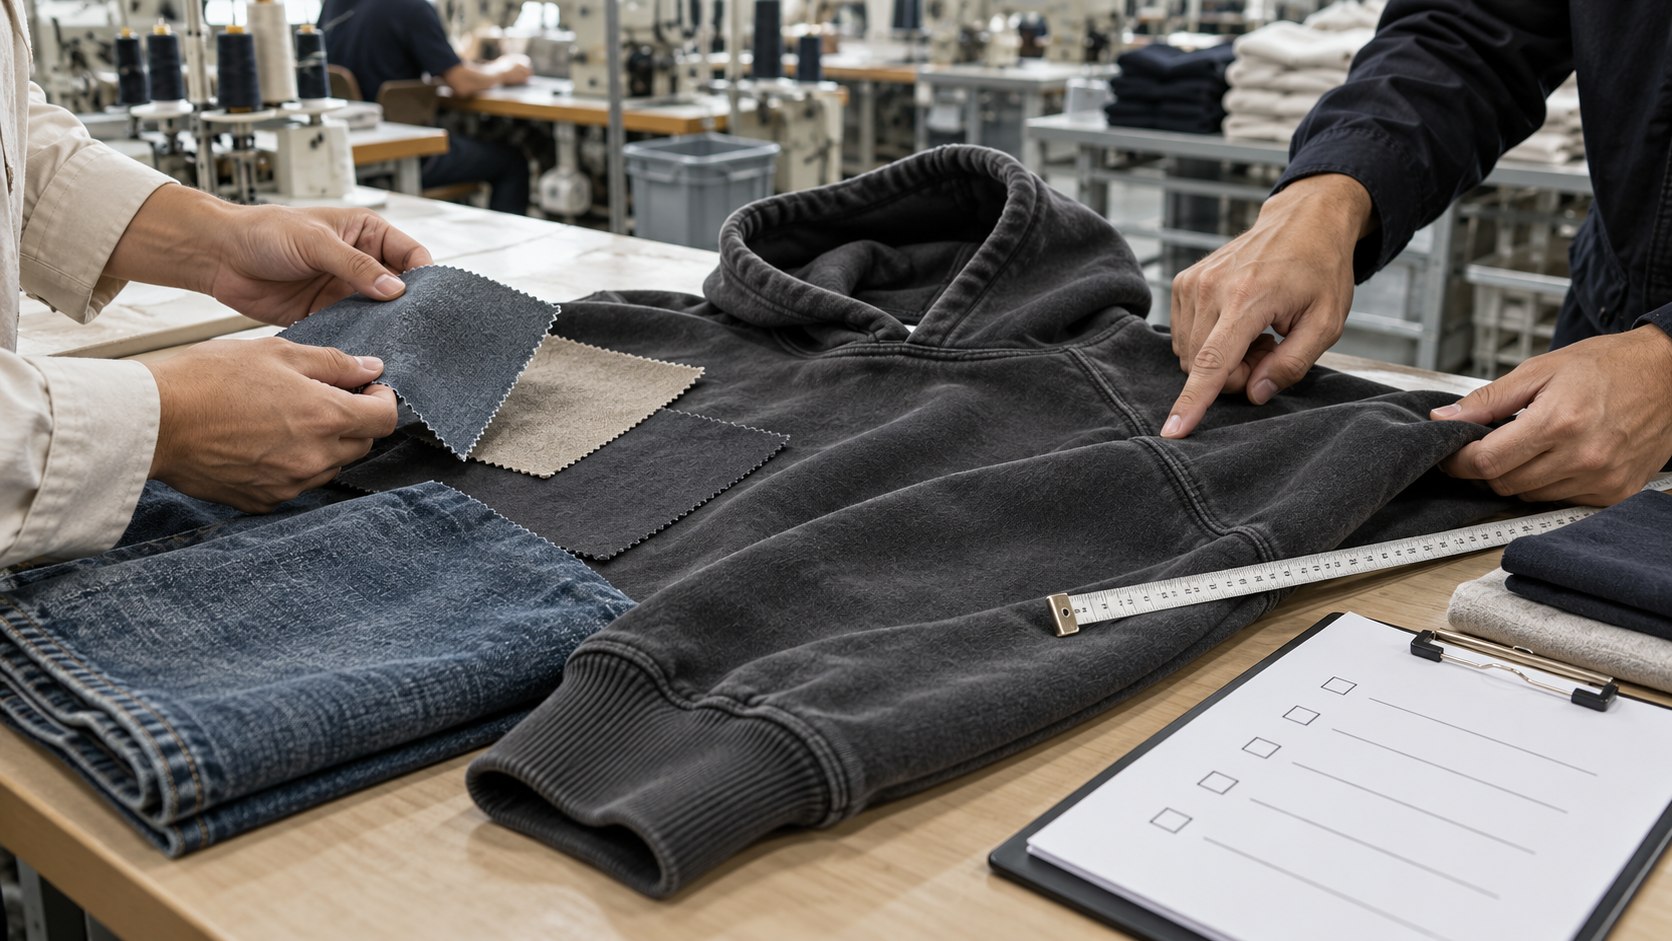
Review body width and length together, then check the shoulder and sleeve proportions. Changing one dimension can alter how the surrounding parts appear, even when the size label stays the same. Record the measurement method in your tech pack checklist so the pattern and sample teams use the same points.
| Area | What to compare | Question for the sample review |
|---|---|---|
| Body | Chest and hem widths alongside body length | Does the body give the intended outline without unwanted taper or length? |
| Shoulder | Shoulder span and attachment position | Where should the sleeve join sit on the intended wearer? |
| Sleeve | Length, upper-sleeve room and opening | Does the sleeve volume suit the wider body, and where should it end? |
| Neck | Opening shape and the specified rib detail | Does the neckline sit as intended within the larger upper body? |
Fill these review fields with measurements from your garment. Use the agreed method and distinguish a flat T-shirt width from a body circumference before comparing fit.
For body length, mark the starting point on the drawing. For sleeves, state whether the measurement begins at the attachment seam or follows a longer path from the neck. A dropped seam changes that reference, so sleeve-length figures from different methods cannot be compared directly.
Buying a larger size of a regular tee follows that product’s grading. It may give the extra room you like, but it does not establish the width-to-length balance of a new boxy design. Compare the actual garments and record which proportions you want to retain.
Compare the fabric on the same garment block
Approve the silhouette in the material intended for the garment. A sample made in a substitute jersey can help discuss dimensions, but its hanging shape may not represent the finished product.
GSM is fabric mass per unit area. It does not specify stiffness, thickness, stretch or a complete drape behaviour. Two materials with the same stated weight can still produce different folds and shoulder lines. Keep the physical fabric reference with the fit sample.
If the outline looks wrong, confirm that the pattern and fabric match the brief before requesting a size change. Added width may not resolve a material-related difference in drape. Check the body and sleeve dimensions separately if you change the fabric.
To compare alternatives, keep the garment specification identifiable and change the material as a separately recorded option. Review how the body falls, how the sleeve stands or hangs, and how the hem sits. Our T-shirt fabric weight guide explains the weight field; the physical sample remains the reference for this fit decision.
Review the sample standing and in motion
Use front, side and back views on the intended wearer or fit form. A flat garment photograph helps compare the outline, while a worn sample shows the room and the position of the hem and sleeve join.
Begin with the wearer standing naturally. Check whether the body falls evenly, where the hem ends and whether the sleeves give the intended volume. Keep the same underlayer during comparisons if the tee will be worn over another garment.
Then review ordinary movements relevant to the product: reaching forward, raising an arm or sitting. Note which area changes. If the hem rises farther than intended, describe the movement and location instead of assuming the whole tee needs to be longer.
Keep the sample’s condition in the record. A fit approval made before a specified wash or finish is different from a review after that treatment. Where the final product is washed, agree which sample state governs the measurements and appearance. Do not compare an untreated reference with a finished sample as though the conditions match.
Write the observations separately from the decision. “Sleeve opening feels too narrow on the fit wearer” is an observation. The required change should identify the measurement or pattern detail to review and then be confirmed on the next sample.
Write fit comments the pattern team can use
Separate what you want to keep from what needs to change. A comment such as “make it more boxy” leaves the supplier to decide whether you mean more width, less length, a different shoulder or a different fabric.
Tie the comment record to the sample revision. The illustrative findings below contain no measured dimensions or customer data; enter the values from your own review.
| Illustrative finding | Keep | Change or confirm |
|---|---|---|
| The body has enough room but hangs longer than the intended outline | Approved chest and hem widths | Review body length from the marked reference point |
| The shoulder direction looks right but the sleeve opening feels narrow | Approved shoulder placement | Review sleeve room and opening without automatically widening the body |
| The dimensions match but the sample falls differently from the reference | Recorded measurements until the cause is reviewed | Confirm the material, finish and sample condition |
| The base size works but another size loses the intended outline | The approved base-size reference | Review the relevant grading steps and that size’s sample |
Give each requested change a location, measurement method and intended result. Where you need the pattern maker’s proposal, state the question and ask for the revised detail before treating it as approved.
After a revision, check the changed field together with the sleeve and neckline proportions. Retain the final chart, selected material and approved sample as the fit reference for a repeat order.
Prepare a boxy or oversized T-shirt request
Send front and back references, a measurement chart, the base size, size range and the material direction. Identify the proportions you want to retain and the details still open for development. Include your proposed quantities by style and colour.
If you are starting from an existing tee, our reference garment specification guide explains how to record what to keep and change. For this fit decision, add clear notes on the body outline, shoulder position and sleeve volume.
When you are ready to discuss a custom menswear tee, send NOVITA your fit reference and sample requirements. The measurements and selected fabric must be confirmed for your project; a catalogue fit name alone is not the sample approval.