
A T-shirt shrinkage test should compare the same points of measure before and after a specified wash-and-dry procedure. Record the fabric, garment size, care conditions, measurement method and acceptance limits before anyone washes the sample. A single claim such as “pre-shrunk cotton” is not a substitute for a documented result on the garment you intend to buy.
This guide is for clothing-brand founders, technical designers and sourcing teams approving cut-and-sew T-shirts. It covers dimensional change and sample sign-off. For the sequence from yarn and knitting to cutting and sewing, see our T-shirt manufacturing process guide.
What does a T-shirt shrinkage test actually measure?
Dimensional change is the difference between a garment’s measured size before and after laundering and drying under defined conditions. Measure length and width separately. A shirt may shorten without narrowing to the same degree; its neckline, sleeve opening and side seams can also behave differently from the body.
The basic calculation for a single measurement is (before measurement − after measurement) ÷ before measurement × 100. A positive result in this convention indicates shrinkage; a negative result indicates growth. State the sign convention in the report so a supplier and buyer cannot interpret the same figure differently.
Fabric weight alone cannot predict the outcome. A 260 GSM T-shirt is not automatically more dimensionally stable than a lighter one. Yarn, knit structure, finishing, garment construction and the care procedure all matter. Our fabric weight guide explains what GSM does and does not describe.
Choose the test method before measuring
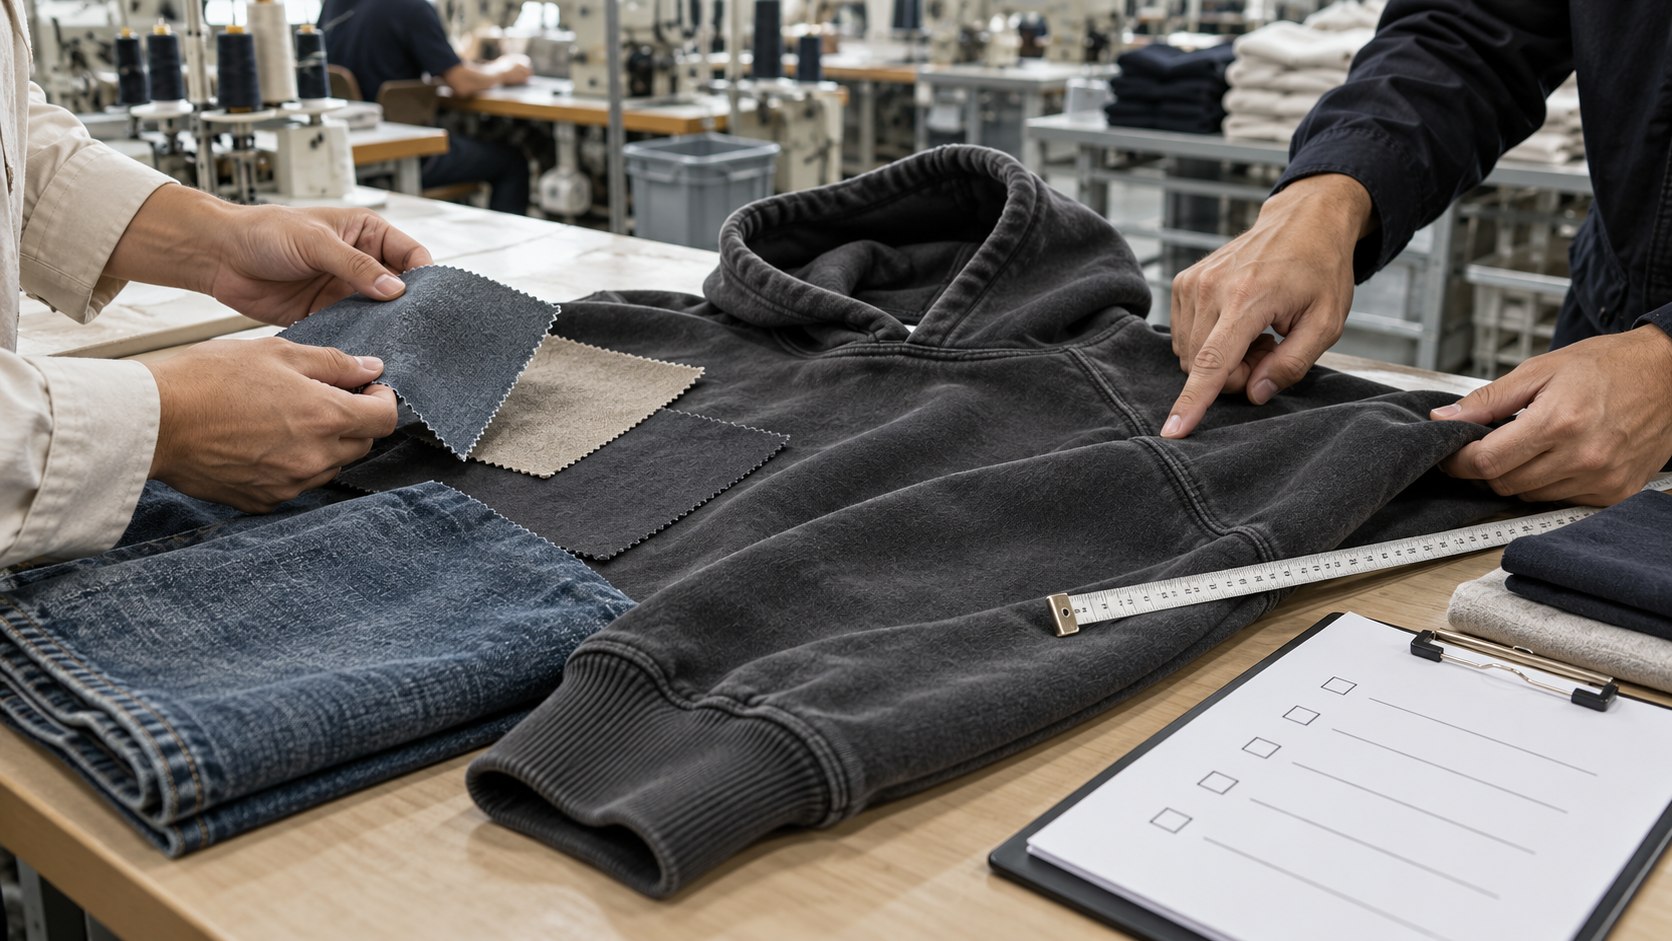
First decide whether the requirement concerns the fabric or the finished garment. They answer related but different questions. Fabric testing helps assess material behaviour before cutting. A finished-garment test also captures changes associated with construction, seams and trims.
The ISO 5077:2007 method concerns dimensional change of fabrics and garments after specified washing and drying procedures. AATCC TM135 concerns fabrics after home laundering; the AATCC TM150 addresses finished garments after home laundering. These references describe test-method scope. They do not impose one universal pass percentage on every T-shirt order.
Ask the laboratory or quality team to confirm the applicable method and full procedure. Record wash temperature, agitation, detergent, drying method, number of cycles, conditioning and measurement points. A result from one care cycle cannot be treated as equivalent to a result from another without checking the methods.
A sample measurement record buyers can actually use
Before washing, place the garment according to the agreed measurement instructions. Identify the same physical points for every reading. Use a dated sample identifier and record the size and colourway. After the agreed procedure and conditioning, repeat the measurements at the same points.
| Record field | What to write down | Why it matters |
|---|---|---|
| Sample ID and revision | Style, size, colour, fabric lot, sample version | Stops results from being attached to the wrong sample |
| Test method and care cycle | Named procedure, wash and drying settings, cycle count | Makes results comparable |
| Chest width | Before / after / change % | Checks fit across the body |
| Body length | Before / after / change % | Checks whether the finished silhouette shortens |
| Sleeve and opening | Before / after / change % | Captures changes missed by chest and length alone |
| Neckline and side seam | Photographs and observations after washing | Records distortion that a length percentage cannot describe |
| Decision | Approved / revise / retest, owner and date | Creates an actionable sign-off |
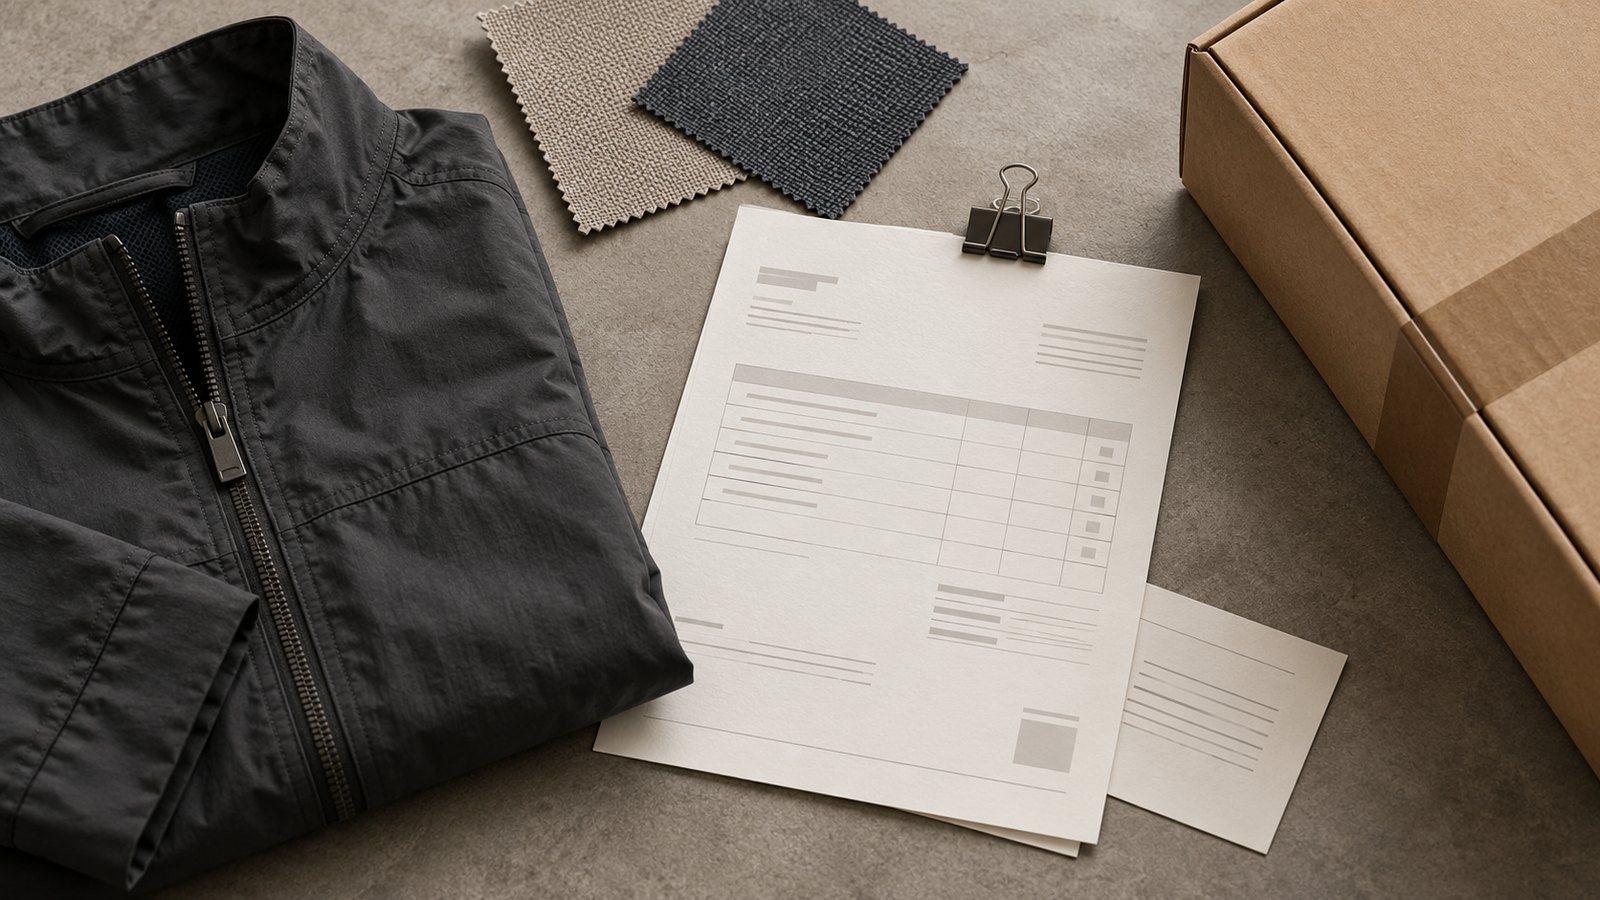
This is a blank buyer record template, not a NOVITA laboratory report or a completed customer test. The approved tech pack must supply the actual tolerance for each point of measure.
Check side-seam twist and neckline shape, not just shrinkage percentage
A garment can stay close to its original chest measurement while the side seam rotates toward the front. Compare the seam’s position against the original reference and record any visible twist. Check whether the neck rib still lies flat and whether the neckline opening has changed in a way that affects dressing or appearance.
Confirm whether the sample has side seams before recording side-seam twist. For a tubular body without side seams, agree suitable reference points and the assessment method with the technical team.
Look for puckering, unequal sleeve lengths and hem distortion after drying. These are appearance or construction observations; do not combine them into one unsupported “shrinkage score.” If the buyer has separate requirements for spirality or seam twist, document the appropriate assessment method.
For a boxy or dropped-shoulder silhouette, a small change in length can alter the intended proportions even when the chest remains acceptable. Our boxy versus oversized T-shirt guide explains which garment measurements define those two fits.
What should happen when a sample fails?
Do not approve the sample on the promise that the next production lot will behave better. First identify the likely source of the change: fabric preparation, finishing, pattern allowance, a different wash procedure or inconsistent measurement. Then decide whether to revise the fabric, change the pattern, repeat the test or revise the product specification.
Retesting should use a traceable new sample and the same agreed procedure, unless the procedure itself was the problem. Keep both versions in the approval record. A passing laboratory result on one fabric lot does not automatically prove the behaviour of every later bulk lot; agree how incoming material and production garments will be checked.
Apply the record to a NOVITA T-shirt project
For a concrete product reference, NOVITA lists a 260 GSM oversized boxy T-shirt with a dropped shoulder, ribbed neck and cropped body. Its published product specification provides a useful starting point for identifying what to measure. The 260 GSM figure describes fabric mass per unit area; it is not a published shrinkage-test result or a promise of zero dimensional change.
Before requesting a production quote, buyers can send the reference style, intended fibre composition, size chart, required care instructions and the test method they expect. For custom T-shirt enquiries, the current product page lists a 100-piece-per-colour minimum and a typical sample-development window of 7–14 days, subject to the particular programme. Confirm the applicable terms for your style rather than treating the example as a site-wide guarantee.
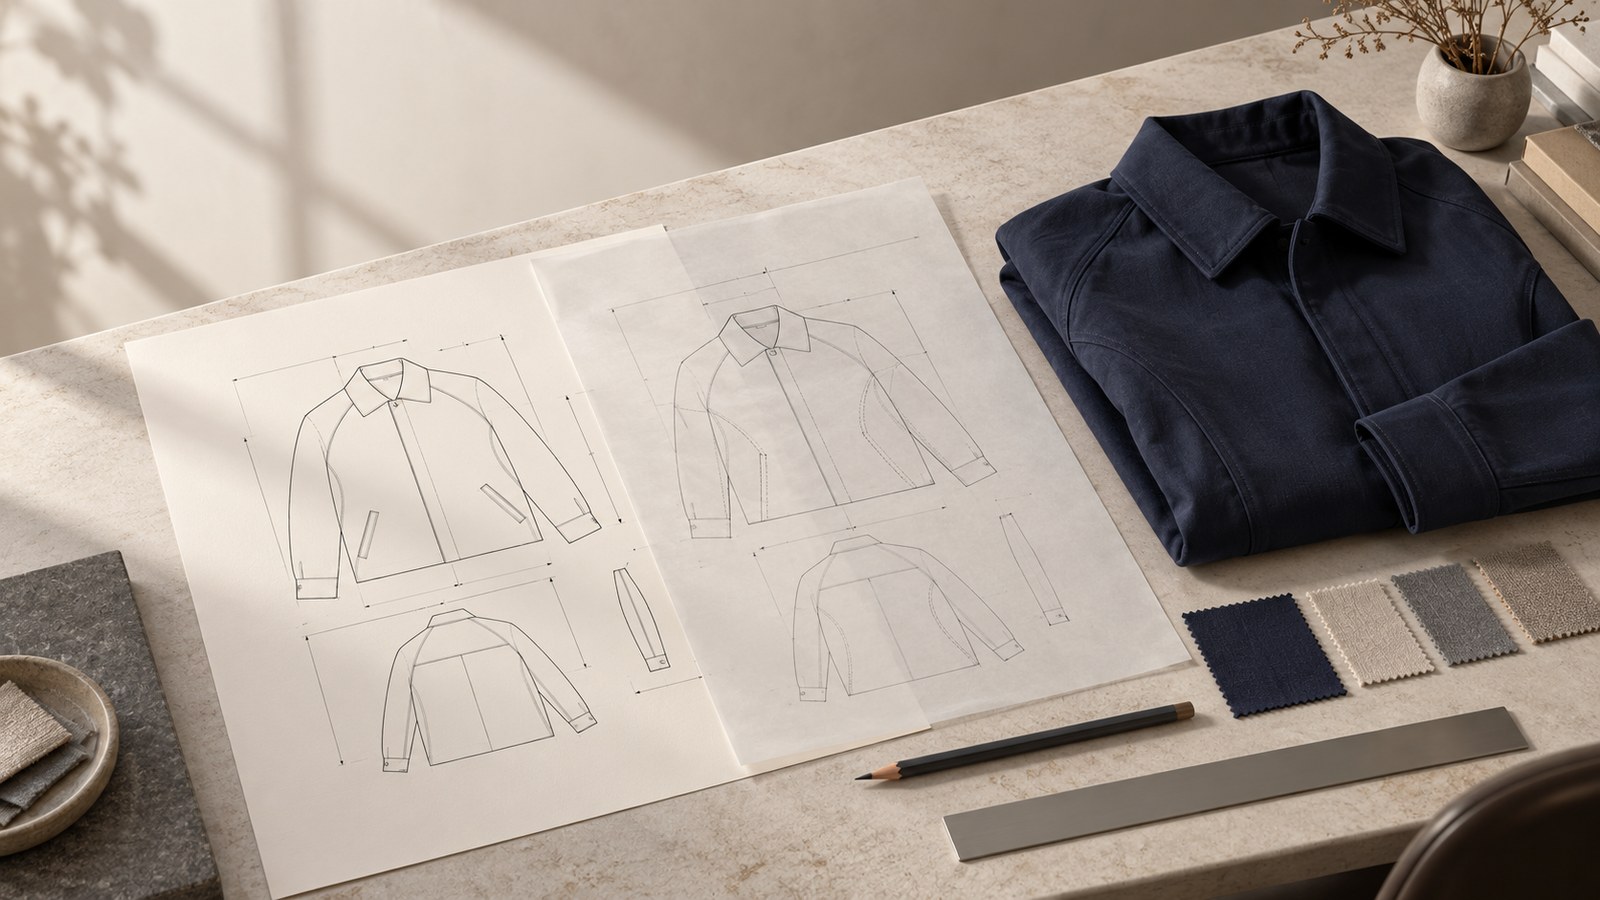
Use the NOVITA contact page to share a tech pack or sample reference. Ask for the proposed dimensional-stability verification plan before signing off on the production sample.
Buyer sign-off checklist
- Identify the exact style, fabric lot, size and approved sample version.
- Agree on fabric or finished-garment testing, including the method and care cycle.
- Record before-and-after measurements for all critical points of measure.
- Inspect neckline, hem, side seams and sleeve balance after washing.
- Compare each result with the tolerance written in the tech pack.
- Record the corrective action and retest result where necessary.
- Keep the approval decision and any bulk follow-up checks together.
Technical references checked 16 October 2026. This article is buyer guidance, not a statement that a named test has been performed on a NOVITA production lot.