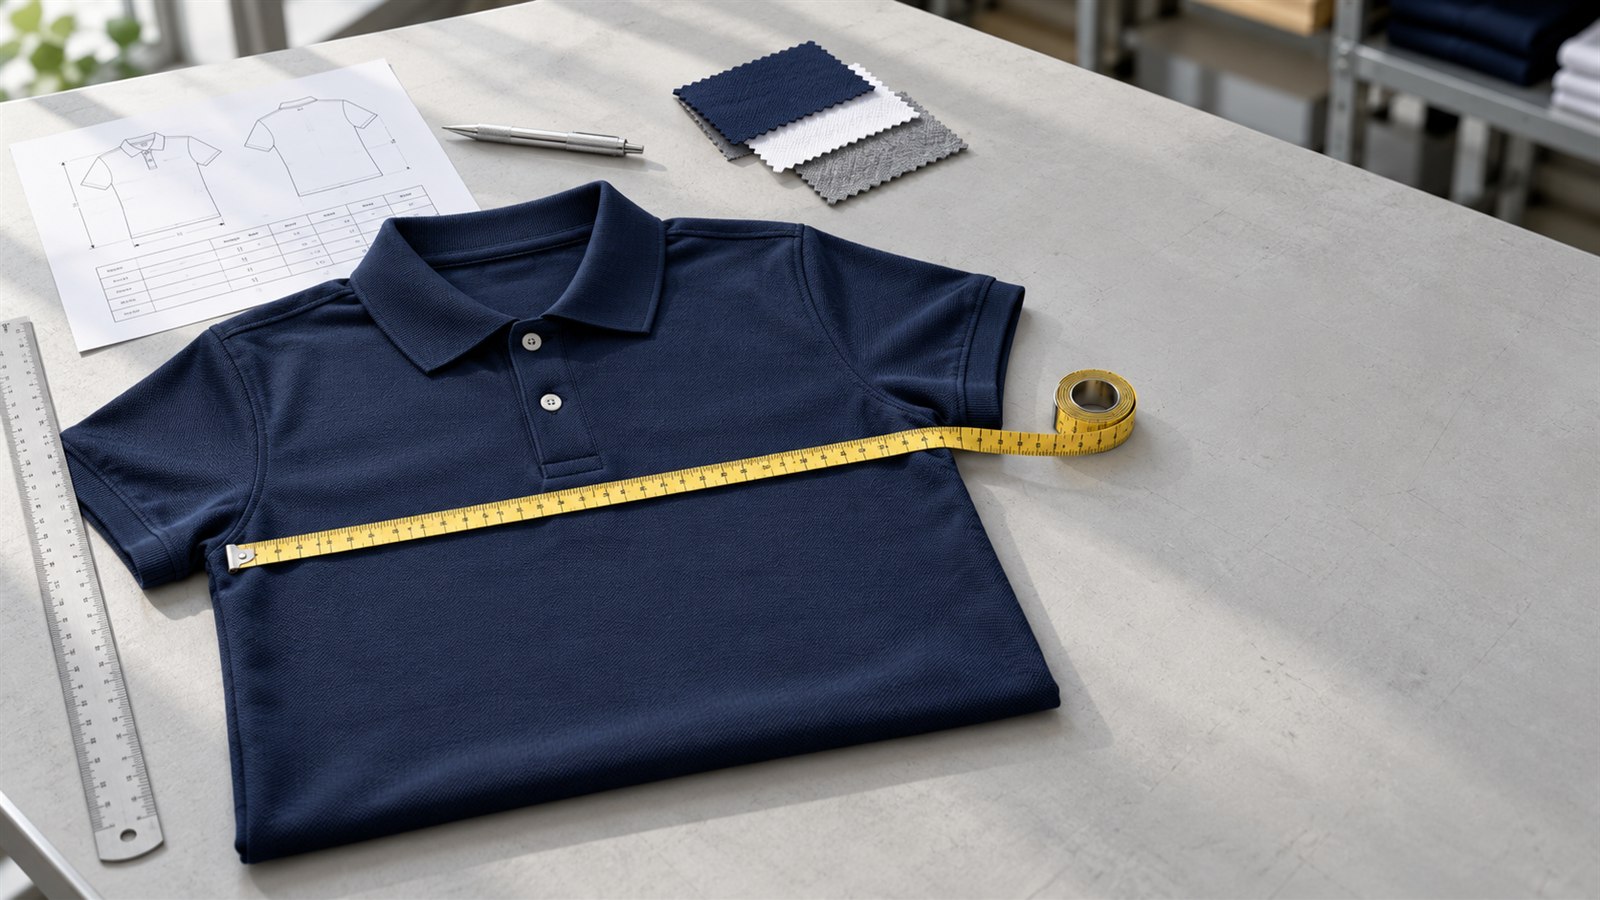
A retail chart helps someone choose a size. A production polo shirt size chart tells a factory exactly what to measure, how much variation the buyer accepts and which sample defines the approved fit. Without those instructions, matching the size label proves little.
For an OEM or private-label order, start with finished-garment measurements and an agreed care state. Attach measuring diagrams, point-specific tolerances and grading rules. Then carry the same document through fit development, size-set approval and pre-production sign-off. The tables below are editable examples for a buyer and factory to discuss, not NOVITA specifications or universal industry limits.
Why a polo needs its own measurement chart
A tee chart usually leaves polo construction underdefined. The collar, buttoned placket and vented hem need separate measurements because each affects how the shirt sits or opens. A satisfactory chest width cannot tell you whether the collar band is too tall or the placket ends too low.
Specify the actual construction. Some polos have a separate collar band; others attach a knitted collar directly to the neckline. Mark a band-height measurement “not applicable” when no band exists, and define the collar depth instead. Woven placket components and knitted body panels may also respond differently to care.
Use the polo fabric guide to prepare material questions alongside the spec. Keep the broader polo manufacturing process separate from this document: the measurement chart should remain usable at a cutting or inspection table.
Define each POM before adding sizes
A point of measure, or POM, combines a named dimension with an exact method. Thygesen’s explanation of POMs describes how the measuring location and method belong together. Build the polo shirt measurement guide around a points of measure (POM) list with precise endpoints and a diagram for each entry.
For this proposed polo shirt size chart, lay the garment flat on a level surface, smooth wrinkles without stretching it and fasten the placket as specified. Let rib openings rest naturally. Record the agreed conditioning and care state before measuring; do not pull a collar or sleeve opening until it matches the target.
The tolerance column contains original illustrative proposals, in centimeters, for negotiation. These are not verified “typical” bands. The MMS sample-measuring article illustrates plus/minus notation; it does not supply the point-specific values proposed here.
| POM | Proposed flat measurement method, without tension | Illustrative tolerance to agree | What it affects |
|---|---|---|---|
| Chest width | Measure straight across between body side edges at the chest line marked on the diagram below the armholes. State its offset from the underarm. | ±1.0 cm | Body ease and across-chest fit |
| Front body length | Measure from the high shoulder point at the neck seam to the front hem, parallel to center front; exclude the collar. | ±1.0 cm | Front coverage |
| Back body length | Use the corresponding back high shoulder point and back hem; define any intended longer back. | ±1.0 cm | Back coverage and hem balance |
| Across shoulder | With the back facing up, measure straight between shoulder/sleeve seam intersections. | ±0.5 cm | Shoulder position |
| Sleeve length | Measure from the shoulder seam along the sleeve’s upper fold to the finished opening; include the cuff if present. | ±0.5 cm | Sleeve coverage |
| Sleeve opening | Measure the relaxed opening edge to edge, with its edges aligned; identify whether the value is flat width or circumference. | ±0.5 cm | Upper-arm comfort |
| Collar band height | At center back, measure from neckline attachment seam to collar attachment seam, excluding seam allowances. | ±0.3 cm | Collar stance |
| Placket length | Measure along center front from the diagram’s neckline reference to the finished placket bottom. | ±0.3 cm | Opening depth |
| Placket width | Measure across the finished closed placket at the marked position; exclude hidden underlap. | ±0.3 cm | Front appearance |
| Bottom sweep | Align the hem and measure body edge to edge at the marked horizontal line; keep side vents closed naturally, without overlap. | ±1.0 cm | Hem ease |
| Side-vent length | Measure each side separately from the finished hem edge to the vent’s top closure point. | ±0.3 cm | Movement and left/right balance |
These definitions suit a conventional set-in-sleeve style. Raglan or dropped-shoulder construction needs revised sleeve reference points. For a stepped hem, draw separate front and back endpoints so “bottom sweep” cannot drift between measuring methods.
Set tolerances by measurement point
A garment tolerance is the permitted deviation from a target measurement. A grading increment is the planned difference between sizes. Increasing tolerance to accommodate an incorrect grade hides the development problem.
A blanket ±1 cm rule is unsuitable for this example: the same allowance consumes a much larger share of a narrow placket than a broad body panel. Fabric stability, panel dimensions and seam construction also change what the factory can hold consistently. Discuss feasibility during sampling, then agree the limit before approval.
The following original arithmetic examples expand the proposed bands above. They are negotiation aids, not external test results. The source for the notation is the MMS measuring example, not a standard assigning these values.
| Example POM | Illustrative target | Proposed tolerance | Resulting acceptable range |
|---|---|---|---|
| Flat chest width | 52.0 cm | ±1.0 cm | 51.0 to 53.0 cm |
| Sleeve opening, flat | 17.0 cm | ±0.5 cm | 16.5 to 17.5 cm |
| Finished placket width | 3.0 cm | ±0.3 cm | 2.7 to 3.3 cm |
Write each limit beside its POM in the polo shirt size chart. Clarify whether it applies after the agreed wash procedure or before washing. If a result falls outside its range, log a failed point and request disposition; do not average it against passing measurements. A dimensional pass also does not excuse a twisted placket or uneven collar.
Approve grading increments across the range
Size grading should preserve the intended silhouette across the range. Groovecolor’s oversized-fit sourcing discussion cautions against uniform increments when body width, sleeve length and hem proportions change differently. That concern also belongs in a boxy polo review.
This author-created grade exercise illustrates different increments within a polo shirt measurement chart. The values are not taken from that source or a NOVITA pattern. All dimensions are centimeters; the proposed fit still needs sample approval.
| POM | Example M | Example L | M-to-L increment |
|---|---|---|---|
| Flat chest width | 52.0 | 54.0 | +2.0 |
| Front body length | 70.0 | 71.0 | +1.0 |
| Across shoulder | 44.0 | 45.0 | +1.0 |
| Sleeve length | 22.0 | 22.5 | +0.5 |
| Placket length | 16.0 | 16.0 | Unchanged |
Approve the increment for every adjacent size, including any break in the rule at extended sizes. Do not assume the collar or placket must increase whenever the chest increases. Compare the smallest and largest samples for shoulder position, opening depth and hem proportions before sealing the size set.
Build the chart around post-wash dimensions
Set the fit targets in the polo shirt size chart on dimensions after the agreed wash, dry and conditioning procedure. Keep a separate, clearly labeled prewash production specification when the factory needs it for in-process checks. A washed sample cannot be judged against an unwashed target without accounting for dimensional change.
The public scope of AATCC Test Method 150-2025 covers garment length and width changes after home laundering. Its summary also warns that the method may not suit certain stretch fabrics. Ask the testing provider to confirm applicability and the full procedure; the summary alone is not enough to run the test.
Record washing conditions, drying method, cycle count and conditioning alongside the results. The shrinkage testing checklist explains why the same POM must be measured before and after care, with length and width evaluated separately.
Use measured shrinkage to establish a dimensional-change budget for each affected point. As a planning calculation, divide the post-wash target by the remaining dimensional fraction to estimate the required prewash dimension. Confirm the allowance in a sewn sample: body fabric, collar rib and placket construction may behave differently. Neither a fabric result nor a mathematical allowance proves that the finished polo will fit.
For a factory-washed garment, distinguish its delivered state from any further care test. Identify both states in the record and avoid applying a shrinkage allowance twice. Keep visible distortion, seam twist and collar recovery observations alongside the dimensions.
Approval gates from fit block to bulk
Use explicit release decisions so a sample cannot become the production reference by accident. The sequence below is a proposed buyer-control workflow; it is not a claim about a documented NOVITA customer order.
Fit block: settle the base fit
Agree the intended wearer, ease and silhouette using the base-size sample. Check the measurement methods while reviewing fit, because a disputed endpoint can look like a pattern error. Resolve changes to chest ease, shoulder position and body length before approving the grading rules.
Retain the marked sample, fitting comments and revised measurement record. Identify the fabric and care state so a substitute material does not inherit approval unnoticed.
Sealed size set: approve the range
Measure every ordered size against the proposed chart and inspect the proportions. Resolve the smallest and largest sizes on their own merits. A correct base size does not prove the graded range.
Seal the approved size set with identifiers and matching chart revision. Keep actual measurements, dated comments, photographs and named buyer/factory approval. If revisions are necessary, record which earlier approvals they replace.
PP sample: prove production readiness
Measure the pre-production sample against the approved chart and its corresponding sealed size-set reference. Check the agreed production materials and construction as well as the care-state results. Define which sizes and material variants require PP confirmation before making the samples.
Require written disposition for any deviation. A PP sample with an unresolved collar or length issue should not release bulk simply because its appearance is close.
Bulk: check against the released revision
Provide the released spec to production and quality teams. Agree in-process and final measurement sampling separately, covering the ordered size range and relevant material variants. Keep actual readings linked to size, color and lot; quarantine nonconforming output until the buyer’s agreed disposition is recorded.
Copy-ready spec-sheet checklist
Attach these fields to the polo shirt size chart before sending it for factory confirmation:
- Style identifier, fit description, chart revision, date and measurement units.
- Ordered size range and a target for every applicable POM.
- Annotated front/back drawings showing endpoints, tape direction and chest-line position.
- Flat-width or circumference basis, button position and relaxed/stretch instructions.
- Collar construction and separate front/back hem references where applicable.
- Per-point tolerance, care state and a rule for handling failed measurements.
- Grade increments for every adjacent size and any exceptions.
- Wash/dry procedure, conditioning requirements and before/after measurement records.
- Sample identifiers, actual readings, approval owners and release decisions.
- Bulk measurement plan and control of superseded documents.
Send the spec with the material and construction details in the technical polo RFQ checklist. Ask the factory to flag unclear methods and unachievable tolerances before quoting or cutting samples.
Common failures buyers can prevent
Copying a retail table leaves uncertainty about body versus garment dimensions, ease and measuring methods. Even a table titled “polo t shirt size chart” needs those definitions before it can support production. Use a reference garment to discuss fit, then develop an order-specific spec.
Mixing washed readings with unwashed targets can produce a false failure or hide excessive shrinkage. Keep the care state visible on the chart and measurement report, not buried in an email.
Leaving collar and placket tolerances blank invites disagreement over small, visible components. Add dimensional limits and appearance criteria; the collar and placket inspection checklist helps separate those checks.
Measuring only the base size leaves grading untested. Require the approved size-set evidence before releasing PP development, and keep later changes traceable. If the material changes after sealing, decide which measurements and wash checks need reapproval.
FAQ
Can a body-size standard replace a factory chart?
No. ISO 8559-1:2017 concerns anthropometric definitions for body measurement. That title does not provide finished-polo dimensions or tolerances. The factory needs garment POMs, ease decisions and the buyer-approved fit reference.
What tolerance should a polo shirt size chart use?
Agree it point by point with the factory after sampling the specified materials. The illustrative bands above are starting points for discussion. They are neither standard-mandated limits nor evidence that a particular factory can achieve them.
Is an approved base-size sample enough?
It can establish the fit block, but it does not validate the grade across the order. Measure and approve the size set, then define PP coverage. Check bulk using the released chart and the agreed inspection plan.
Should the factory measure before or after washing?
Both states can be useful, provided each has its own identified targets. Set the intended fit on the agreed post-care dimensions, and derive any prewash production controls from verified dimensional-change results. Never compare different states without an agreed allowance.
When should grading be revised?
Revisit it when the approved size set shows poor proportions, or when construction or material changes affect fit. Changing a size label does not fix the pattern. Record the new increments and repeat the affected approvals before bulk release.
For a NOVITA OEM or private-label polo inquiry, send the annotated spec and reference sample together. Ask for written confirmation of the measuring methods, tolerance feasibility and approval sequence before authorizing production.
Sources
- https://thygesenapparel.com/blog/t-shirt-size-charts
- https://mmsclothing.com/📏-size-matters-how-to-measure-clothing-samples-without-losing-your-mind/
- https://www.groovecolor.com/blog/Oversize-Streetwear-Shirt-Sourcing-Guide-How-to-Evaluate-Fit-Control-Heavyweight-Fabric-and-Bulk-Consistency_b21785
- https://members.aatcc.org/store/tm150/556/
- https://www.iso.org/standard/61686.html
- https://novitatradeltd.com/polo-shirt-fabric-guide/
- https://novitatradeltd.com/polo-shirt-manufacturing-guide/
- https://novitatradeltd.com/t-shirt-shrinkage-testing-before-bulk/
- https://novitatradeltd.com/technical-polo-shirt-rfq-checklist/
- https://novitatradeltd.com/polo-collar-placket-inspection-checklist/
- https://novitatradeltd.com/products/polo-shirts/
The tolerance bands, target dimensions, calculated ranges and grade increments are original editorial examples. They are not measured NOVITA data, published industry averages or values prescribed by the cited standards. Their suitability for a real order requires buyer/factory agreement and sample verification.